
There are no raspberries in our new garden!
I repeat, there are no raspberries in our new garden!
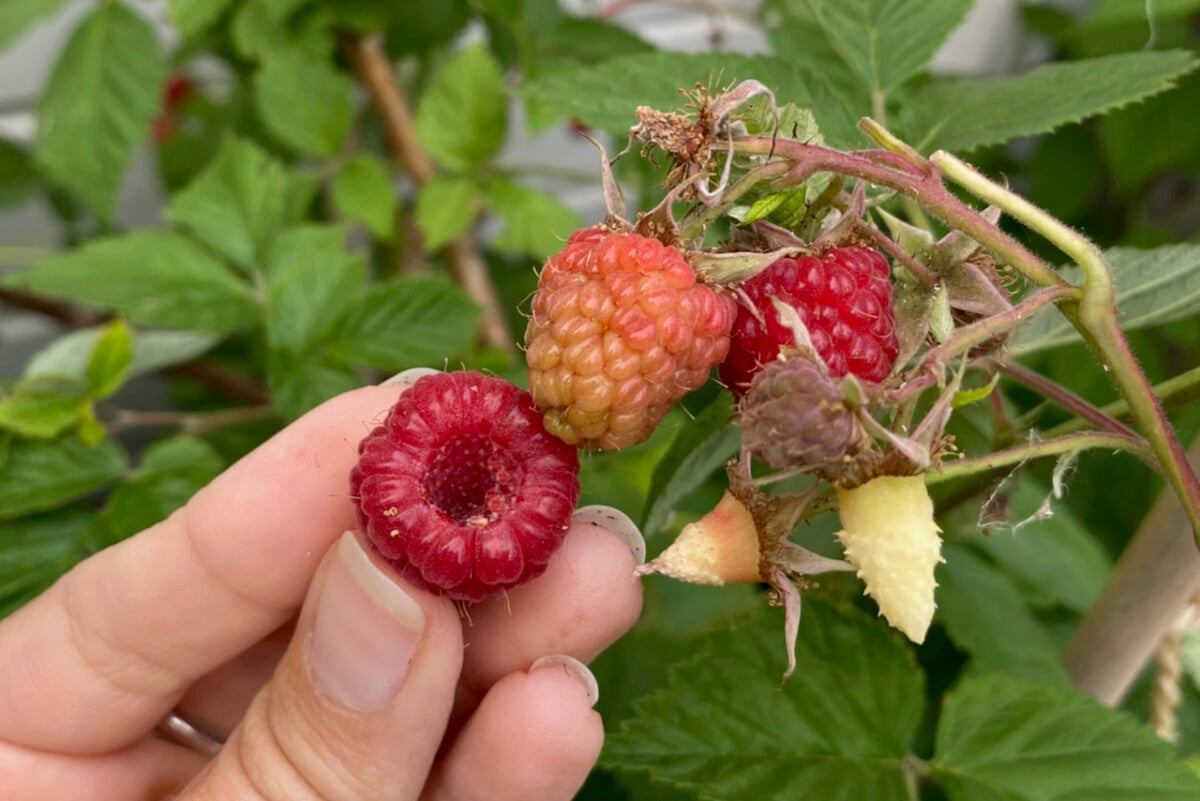
As someone who has spent the past five years consuming raspberries by the bowlful, from mid-summer to late fall, I felt that this lack of raspberries would have to be one of the first things to rectify in our new garden. Before we planted anything else. And even before we built a compost bin. The raspberries had to be the first ones to go in the ground.
I’ve been whining a lot about moving into this garden (the house too, but the garden is more my domain) so late in the year. Because in my mind, I would start growing tomatoes and juicy peppers right away. But late fall is actually the best time to get perennials in the ground, raspberries included.
Join me as I plant what shall henceforth be known as Raspberry Row and give you a few tips along the way for a super productive berry patch.
These may be the first raspberry plants in this garden, but I’ve been growing them successfully in previous gardens and have learned a thing or two over the years.
Tip 1: You can plant raspberries two ways: bare root canes or potted plants.
Usually, baby raspberries are sold either as bare root canes or as potted plants.
When we’re buying bare root canes, we’re buying dormant plants. They’ll only be available this time of year, from late fall until early spring (at the latest). Once the canes break dormancy, nurseries generally get them back in the ground to continue to grow and then sell them as potted plants.
Here’s why I think planting bare root raspberries makes sense
Generally, bare root canes are cheaper to buy in bulk. That’s because they’re easier to store and ship. Think about it – we don’t have to pay for the container and the soil that actively growing canes are planted in.
Because bare roots are easy to ship, we can buy from online nurseries. For me, this makes a big difference because I get to choose between all the cultivars available country-wide, not just the ones that my local garden store stocks.
The disadvantage of bare roots: The window to buy them and plant them is fairly small – roughly from November through to February, when they’re dormant. And once we buy them, there’s no procrastinating allowed. They’ll have to go in the ground right away.
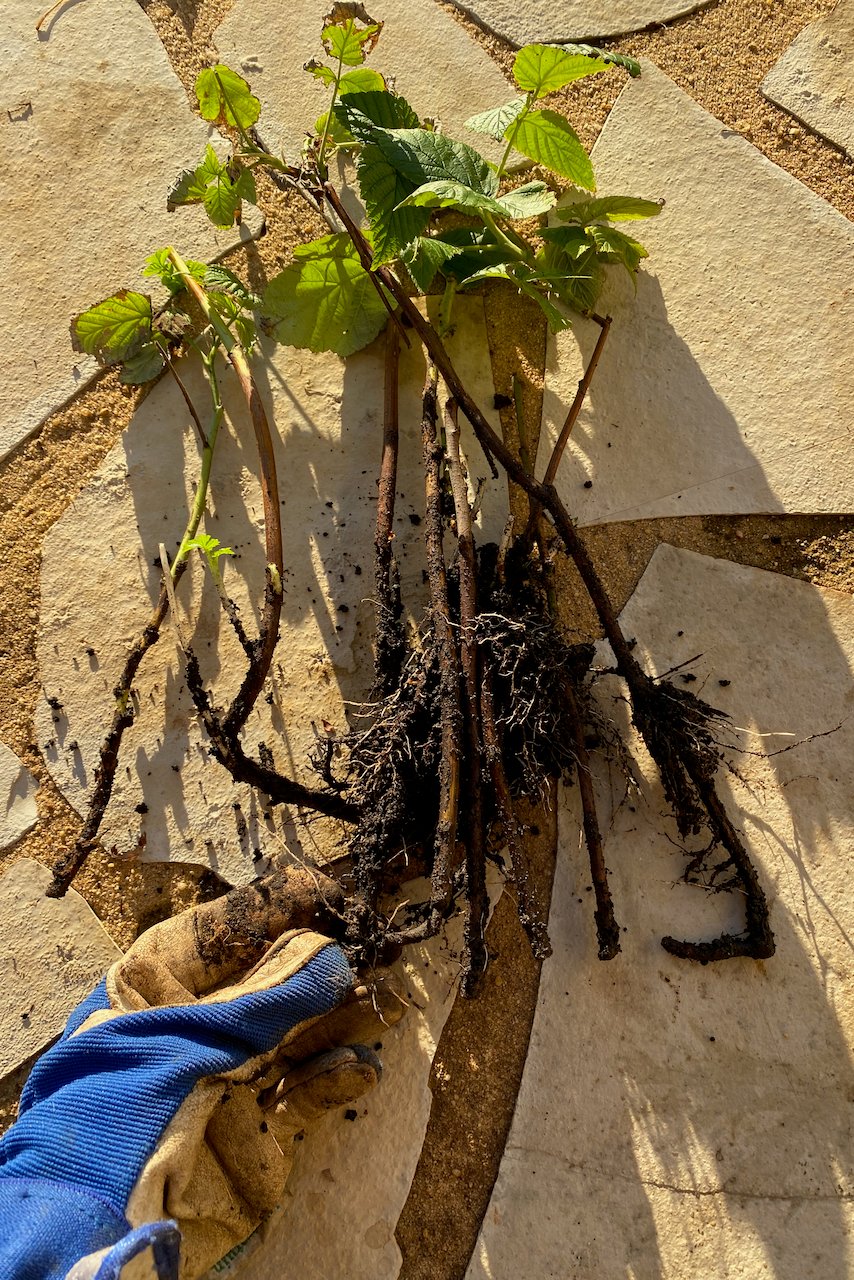
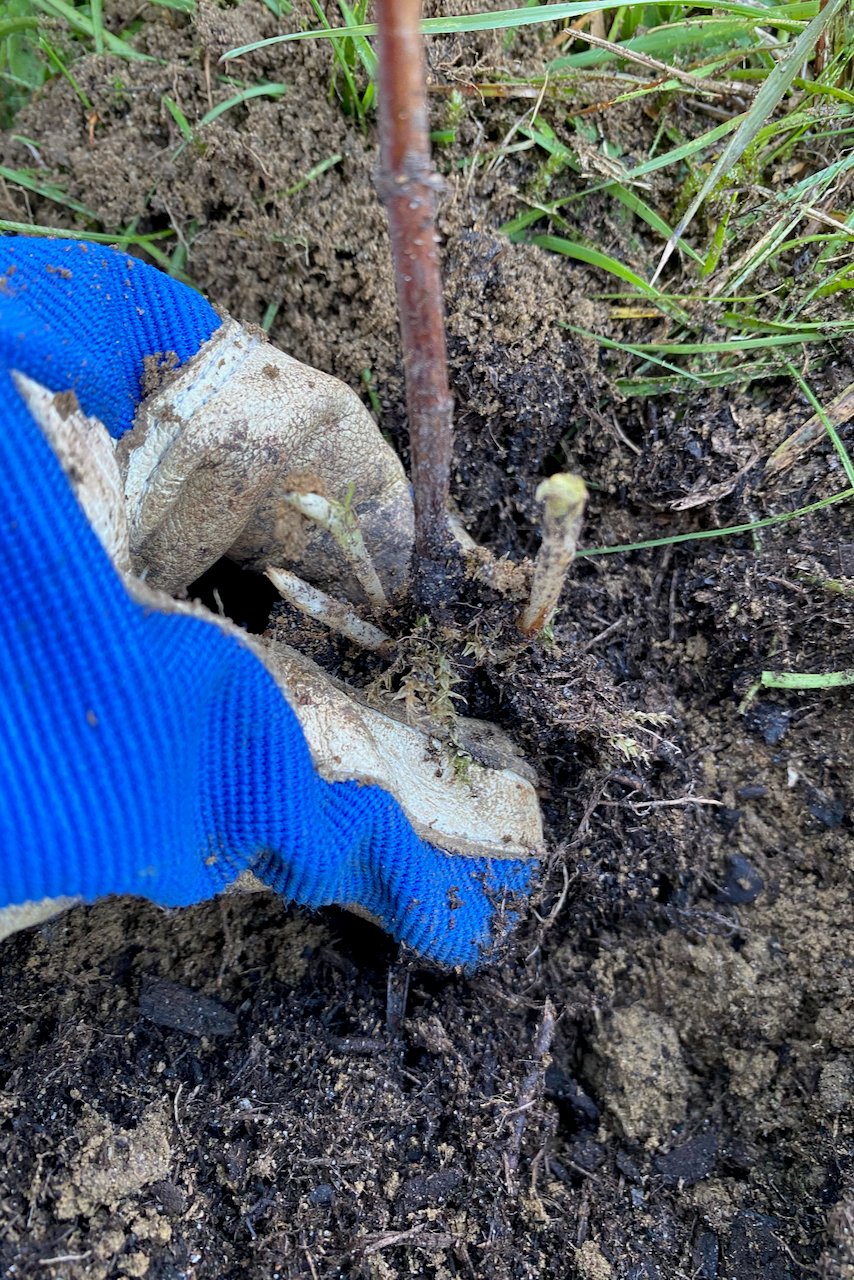
Bare roots can come either as simply canes (more or less, sticks with roots) or as a bare root crown. The difference is that the crown is a more mature version of the plant and it will fruit better early on. The bare root canes, on the other hand, might take a couple of years to mature before they reach their fruiting peak.
Here’s why I think buying potted baby raspberries makes sense, too.
Quite simply, you can pop them in the ground anytime from March through November, or any time when your ground isn’t frozen. The transition is smooth. And if you’re a newbie gardener (or simply an overly anxious one), you won’t be spending months staring at sticks wondering if they’re still alive or not.
Did you see what I did there?
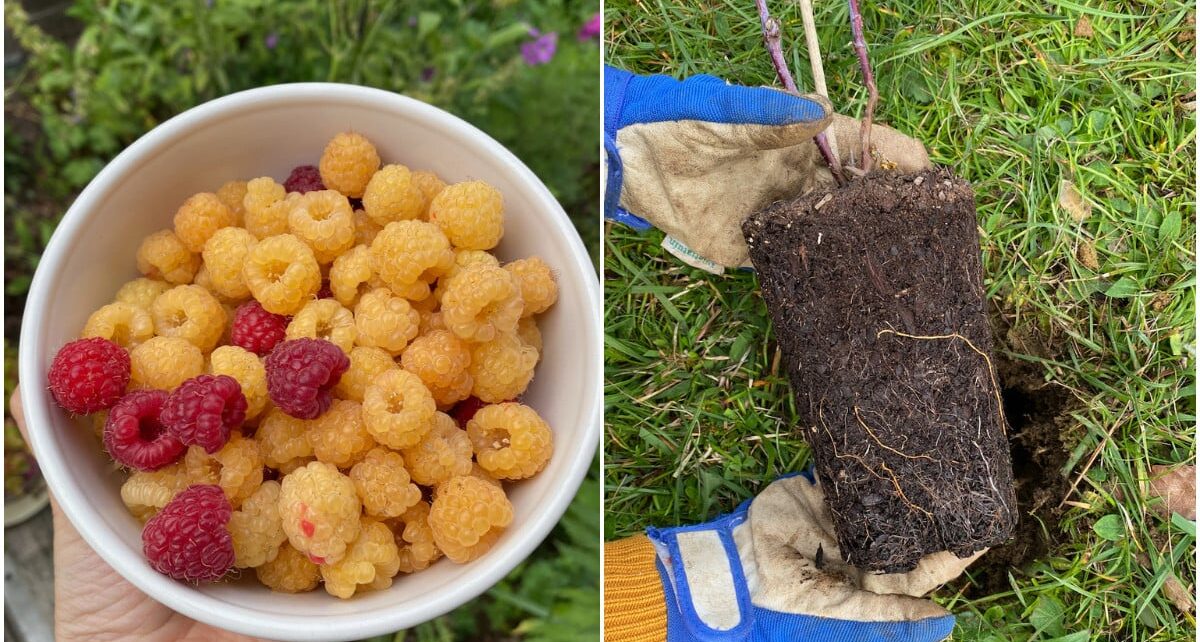
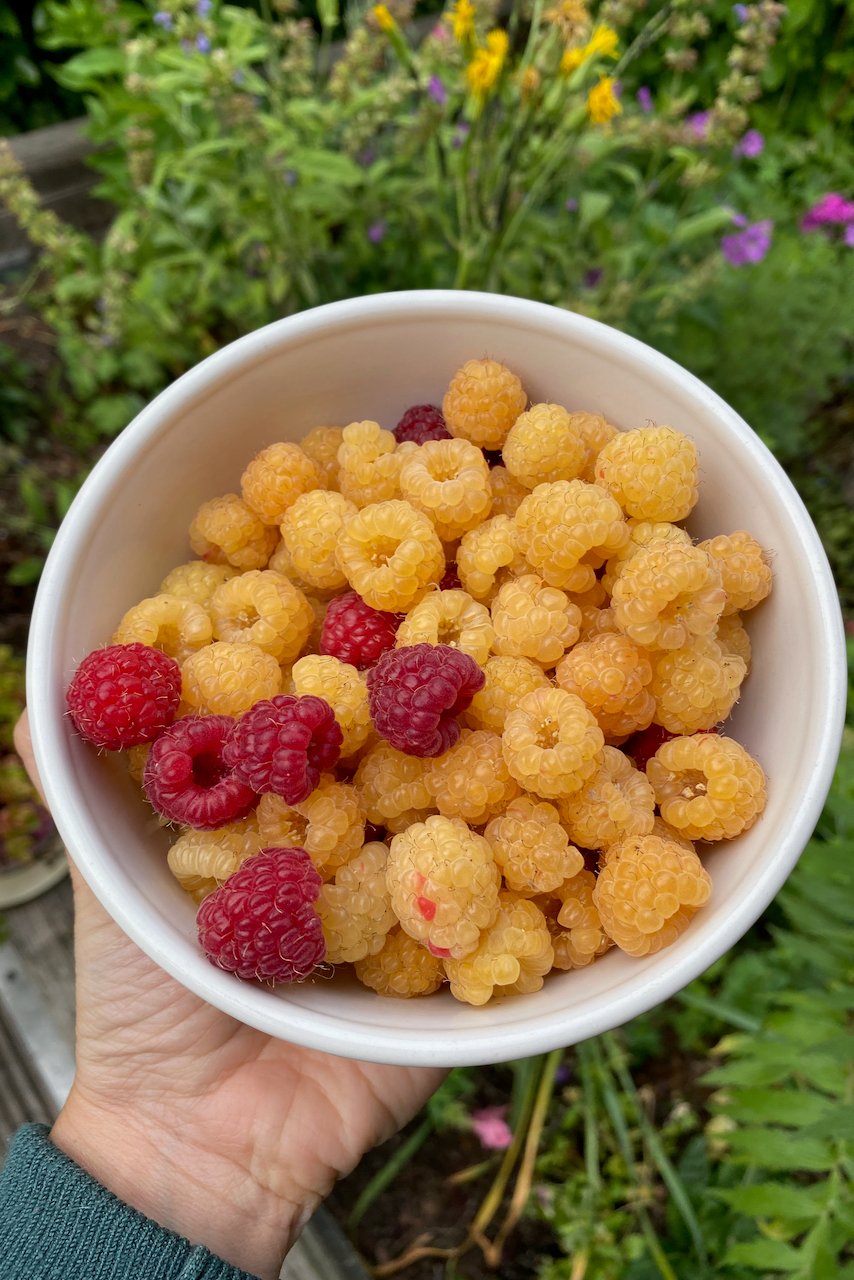
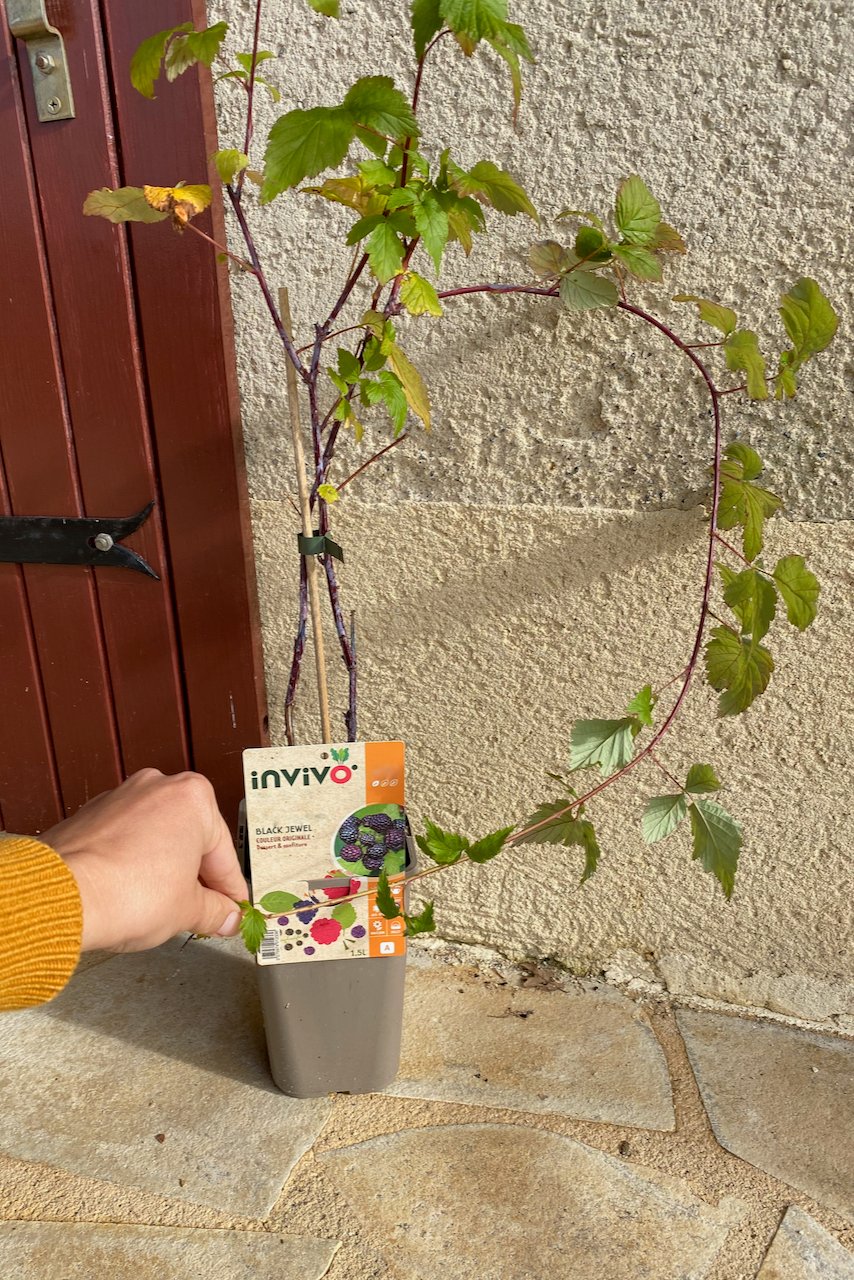
I presented the facts and let you decide which ones to get. That being said, I’m planting both types this year. Most of the ones I’m planting are bare roots, but I couldn’t find bare roots for one cultivar, the delicious black variety called ‘Black Jewel’, which I bought as potted plants.
Tip 2: You can mix and match raspberries with different fruiting times.
In general, raspberries can bear fruit either:
Once a year, in the summer, generally starting in July. These are known as single-bearing or summer-bearing raspberries.
Twice a year, in early summer and early fall. These are called double-bearing or everbearing raspberries.
(Keep in mind that the timing I mentioned above is approximate, and it may vary depending on what USDA zone you’re gardening in.)
Now that I’m starting a raspberry patch from scratch, I have decided to mix the two types. I want to extend (and stagger) the fruiting time for as many months as possible.
By mixing the two types in my garden, I’ll be harvesting raspberries:
- First batch from the everbearing ones from late May to late June.
- Followed by the only batch of the summer-bearing ones, roughly from July to mid-August;
- Followed by the second batch of the everbearing ones from late-August, sometimes through to October.
Five months of raspberry harvesting is very close to living the dream for me. But there are some differences to keep in mind between the two types, notably in terms of when we prune them and how we propagate them.
Don’t worry, it’s not that complicated. I explained everything you need to know in this article.
Tip 3: Raspberries prefer slightly acidic soil, but they’ll survive in anything.
Raspberries are pretty hardy and very forgiving. They do well in well-draining soil rich in organic matter, if it’s slightly acidic, even better.
Raspberries might be my favorite type of berries to grow because of how self-sufficient they are. Unlike blueberries, for example, which will really underperform if the soil isn’t acidic enough, raspberries will simply adapt.
In my new garden, I am very much gardening on clay. It’s not dense, heavy clay, the kind that comes apart in big clumps, but it is clay nonetheless. I’ve been here before, and I know what to do: amend, amend, amend.
Every single time I plant something in the ground, I dig a hole that’s twice the size of the roots I’m planting, then add compost. Compost helps aerate the soil, boosts soil life and adds nutrients. Over time, and with healthy gardening practices, these nutrients and underground biodiversity spread around in the soil, even to areas that I haven’t amended.

Tip 4: You don’t have to start with a lot of plants.
My word of wisdom for starting a raspberry patch is this: plant a single cane first, and the patch will follow.
I’m not even being hyperbolic. In our previous garden, I started with one single raspberry plant, then by year three, I was giving out free plants left, right and center.
Again, part of being no-fuss and low-maintenance for raspberries is their ability to multiply rapidly. That’s a good thing, at least for me. It means I can save my gardening budget for the more fussy plants. This year, I’m only buying a few raspberry plants and using my savings to buy two-year and three-year-old cherry trees.
Tip 5: Starting with a well-prepared planting site is key.
Ok, now that we’re putting the plants in the ground, here’s my advice:
First, it’s crucial for the young roots to be surrounded by nutritious soil that drains well.
(This is part of the soil amending process I mentioned earlier.)
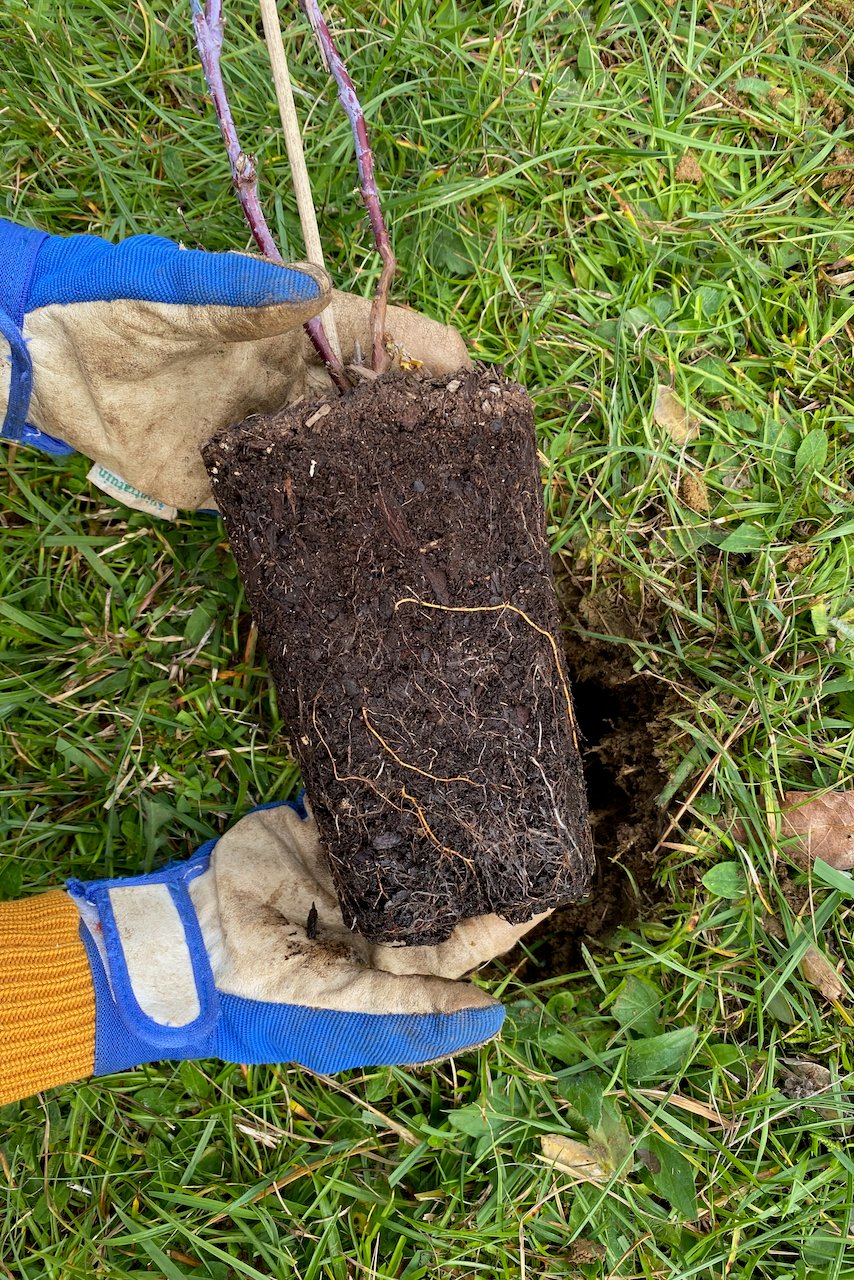
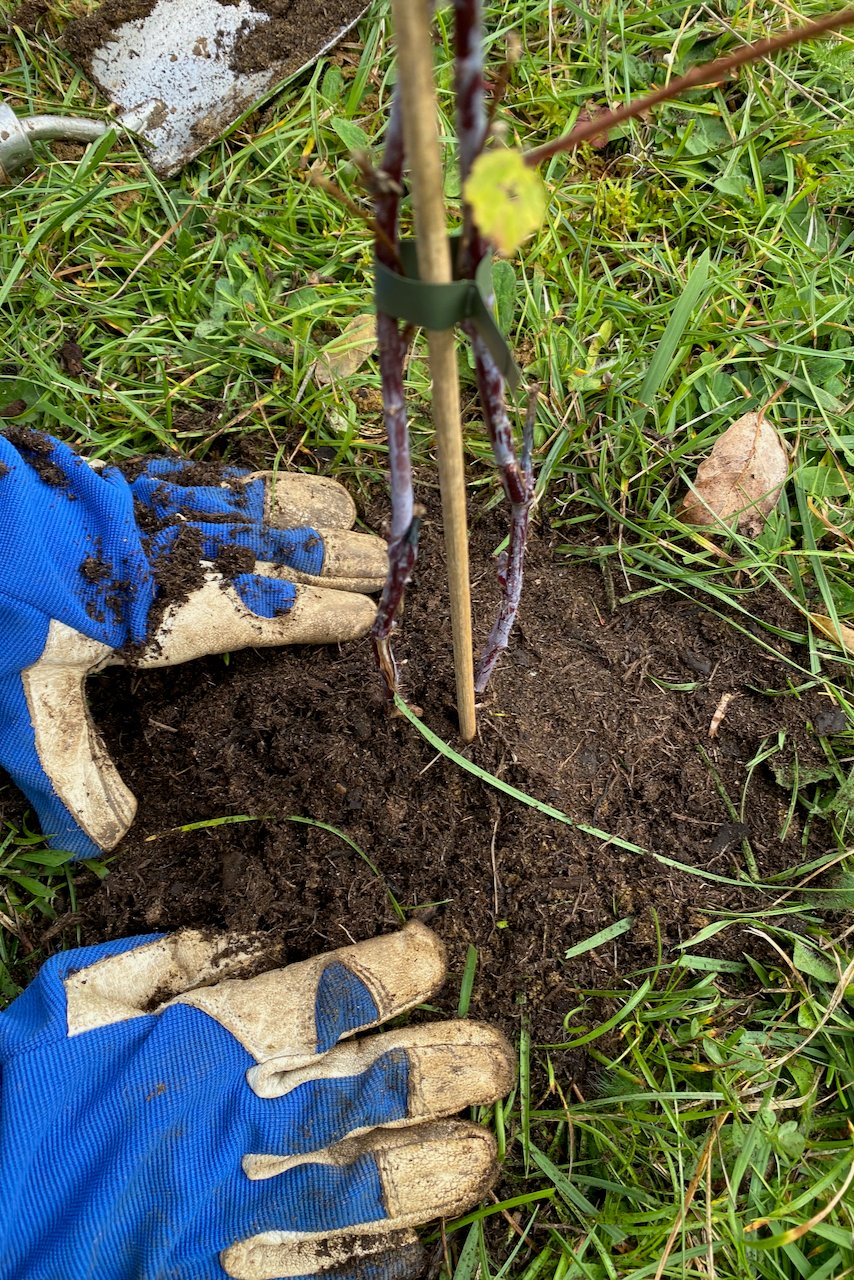
Whether you’re starting with bare root canes or potted plants, dig a hole twice the size of what you’re planting, then fill it back up with fresh compost.
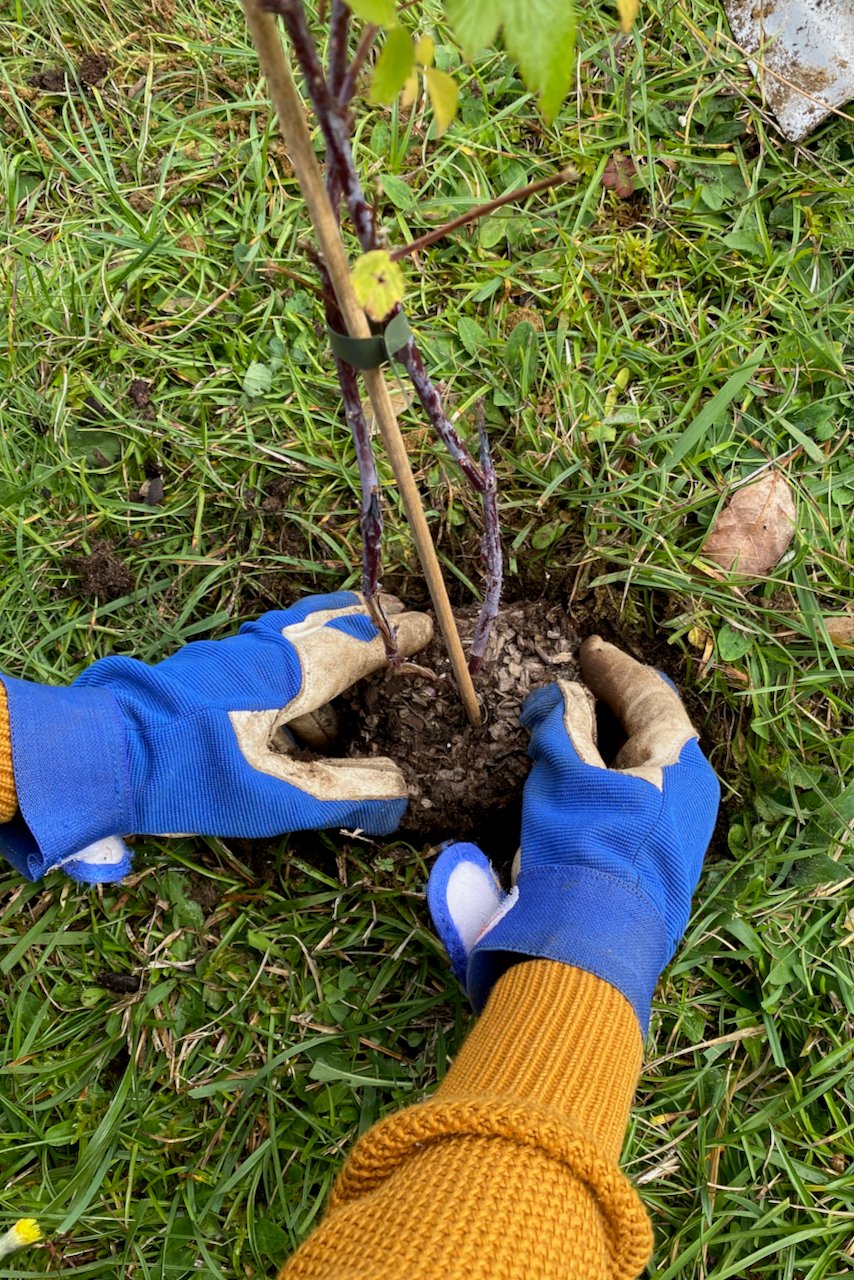
The potted raspberries that I bought came in tall containers, so naturally, I wasn’t going to dig twice the depth of the pot.
But all around – including below the roots – the volume of soil that I displaced and refilled with compost is twice that of what I’m planting.
Secondly, don’t bury your raspberries too deeply.
If you’re transplanting a potted plant, always bury the plant at the same depth as it was in the nursery container.
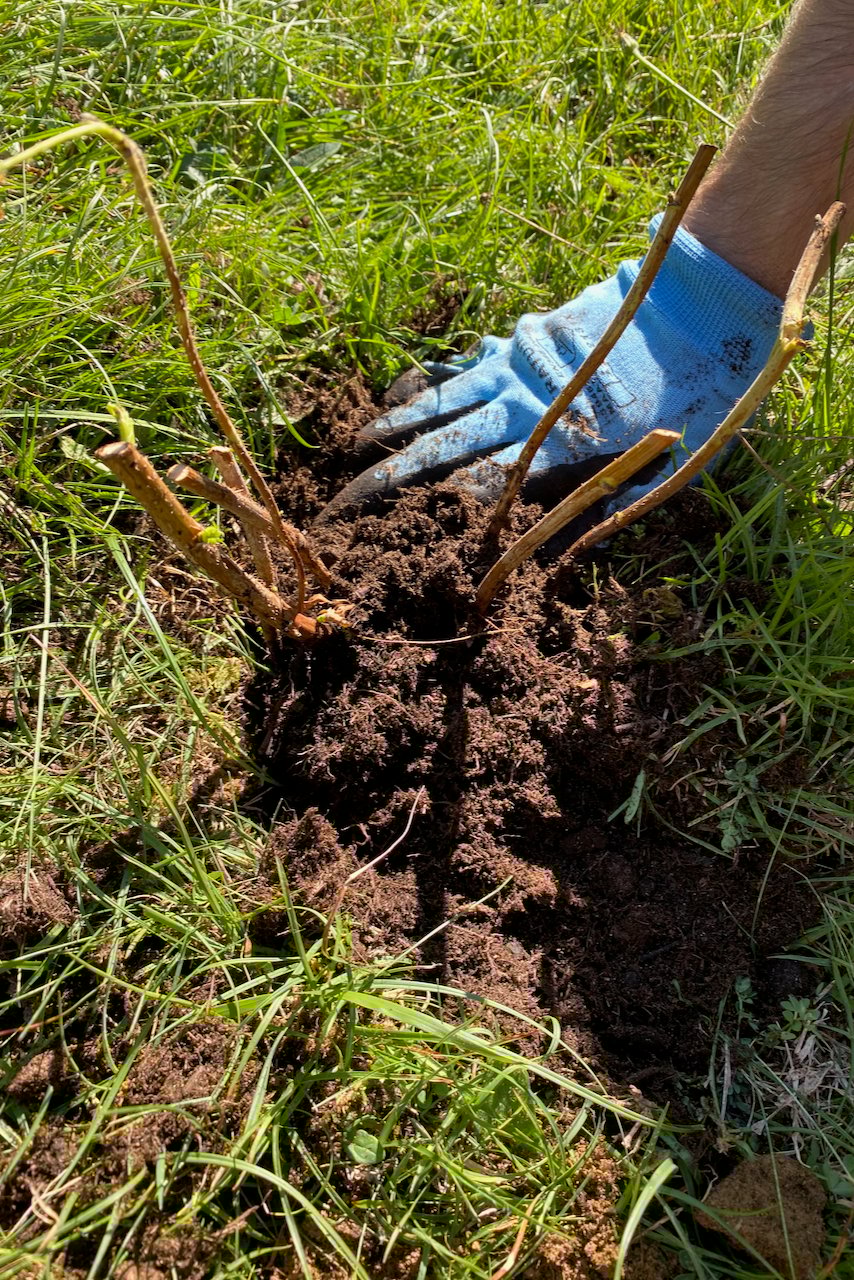
If you’re planting bare roots, just the root part and at most a couple of inches above it should go below ground. We want the plant to be well-anchored (so not too shallow), but not have too much of the stem underground.
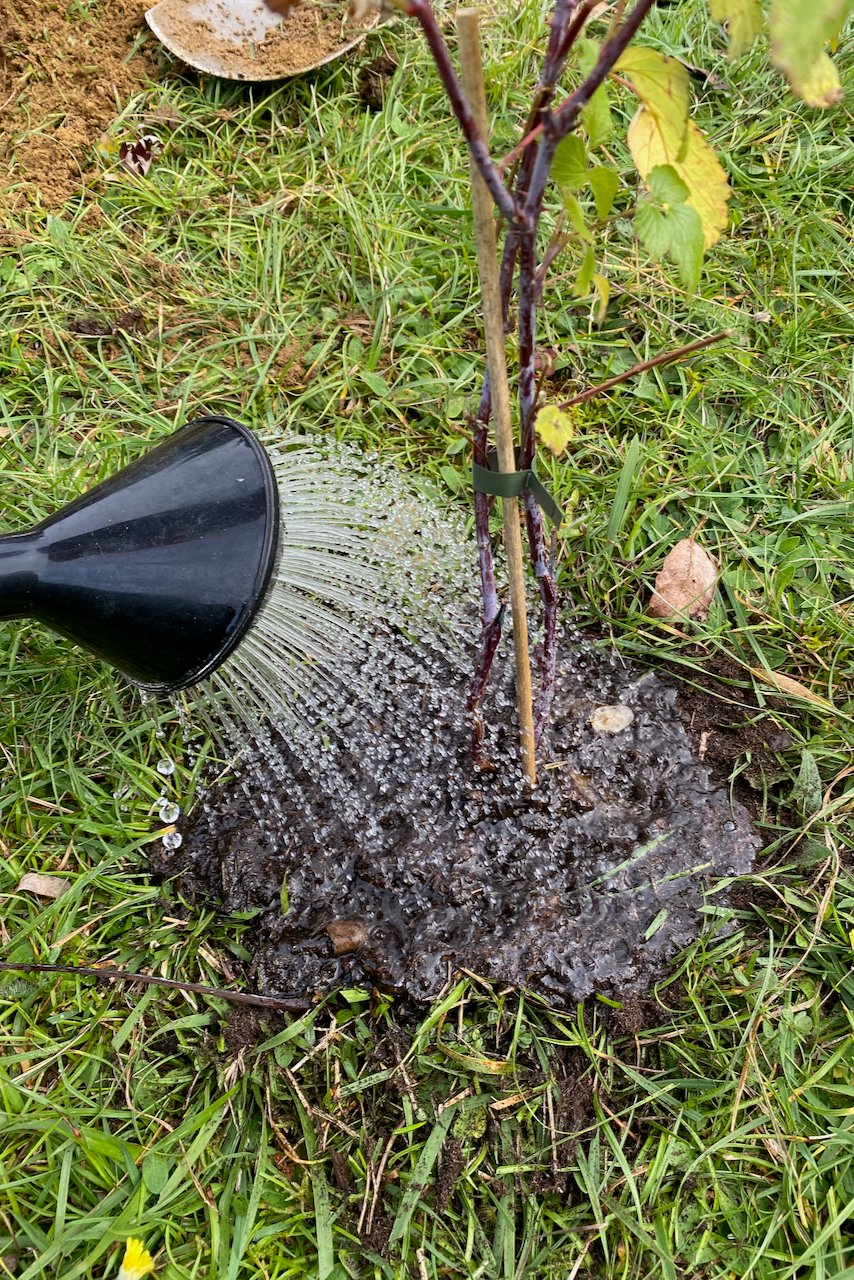
No planting session is finished until we’ve watered everything thoroughly… twice. The purpose is not just to hydrate the baby raspberries, but also to eliminate the air pockets that we left behind when planting. (I always do this through watering, never through stomping on the ground around the plant.)
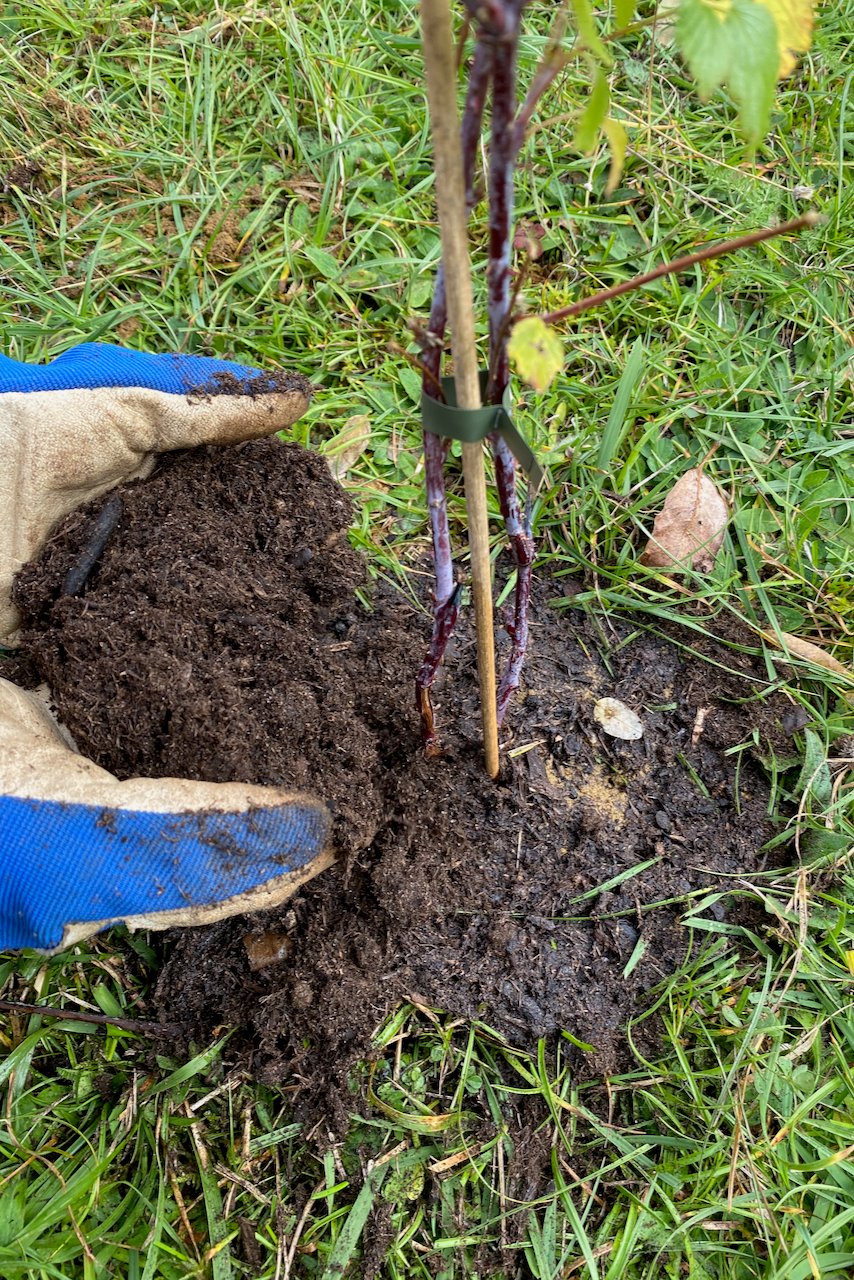
Once everything is soaked and settled, I will add another layer of compost.
Tip 6: Mulch from the get-go.
Mulching, for me, has two components. No matter what perennials I’m planting.
First, I’m mulching with fresh compost. This is the second layer of compost I mentioned in the point above.
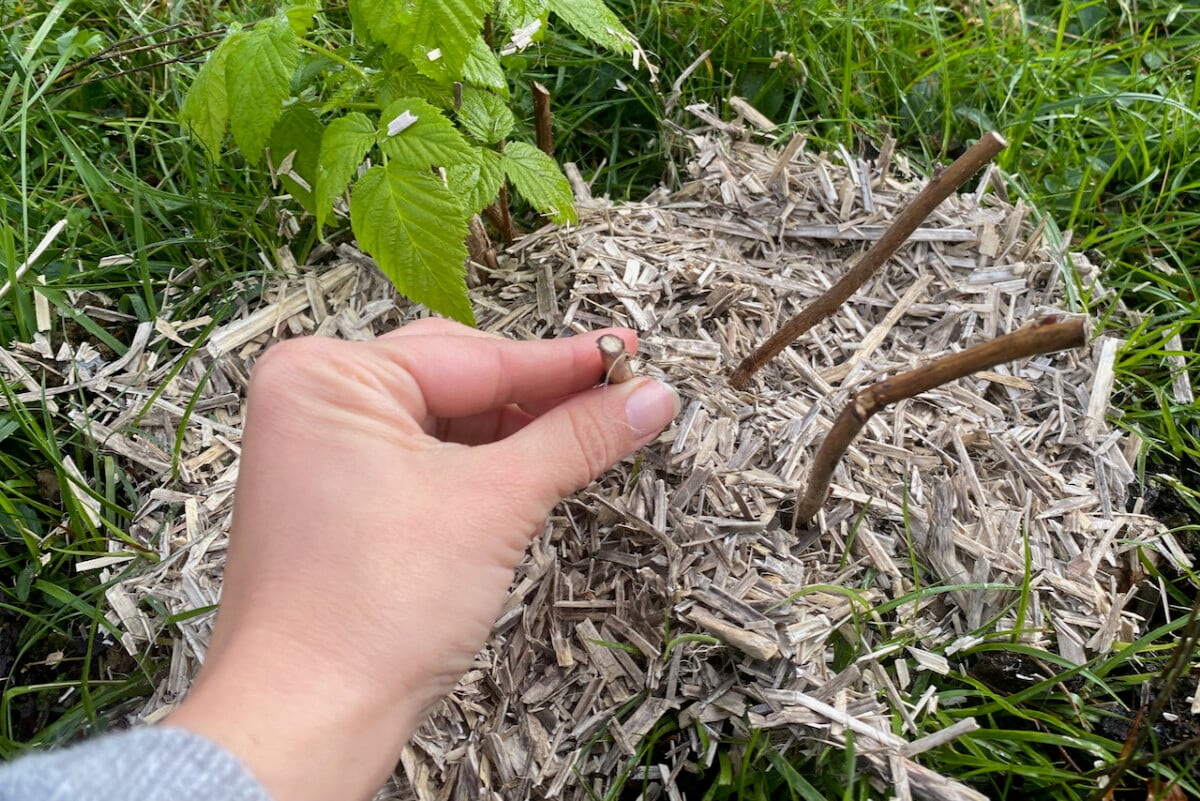
Then I mulch with organic matter that will, in time, break down and add to the soil. This year I’m adding wood chips, but I’ve also successfully mulched with leaf mould, ramial wood chips or simply dry leaves in the fall.
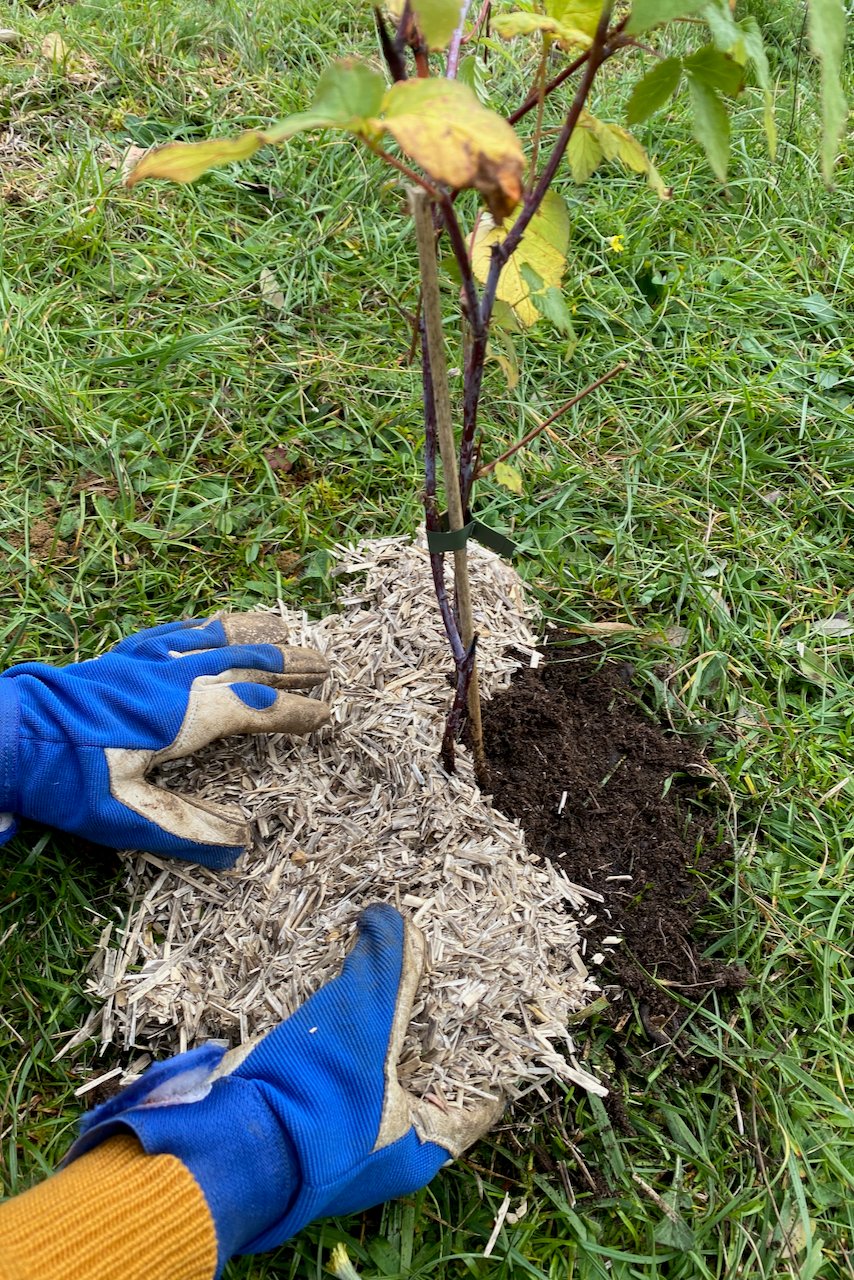
When we’re planting in the fall, mulching is important because it helps to prevent the temperature below soil level from yo-yo-ing between above and below freezing. And since I’m planting my raspberries straight in the lawn, not in raised beds, it also helps prevent the grass from growing back and taking over.
If we were planting in the spring, mulching would be equally important. It helps lock moisture in the soil and keep the roots cool.
Tip 7: Start adding supports right away.
In the first couple of years, we will need to prop up young raspberries on supports. Once the raspberries get more mature, they’ll form a thicker root crown, which will generally keep some of the canes upright without climbing supports.
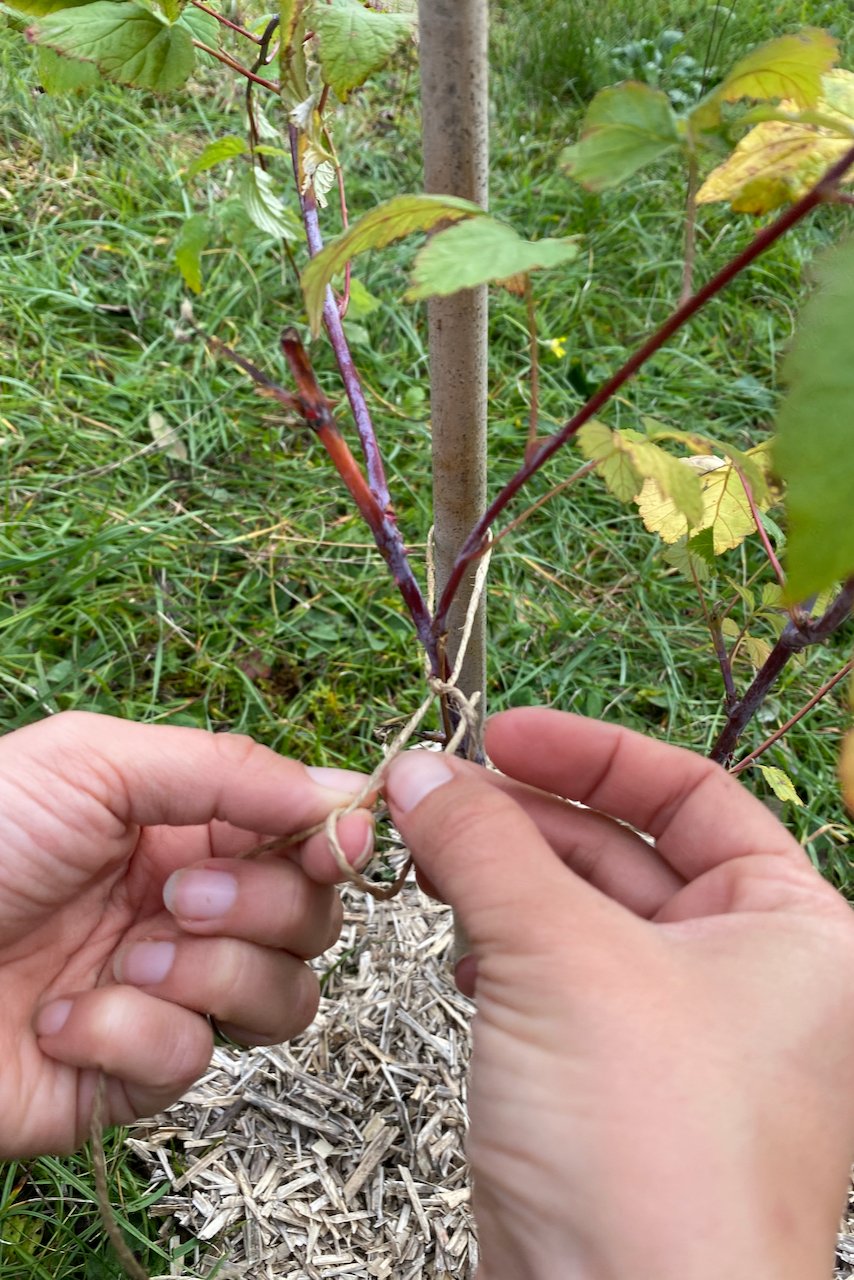
But keep in mind that even with older raspberry canes, we’ll still need to train them up vertical supports or along horizontal supports in order to make harvesting easier and prevent the plants from swinging in all directions.
If you’re planting in the fall, and especially if you’re planting bare root canes, you can skip this part for now. It’s very likely you won’t need any extra support for at least six months. But in late spring or early summer, when the canes start shooting up, you can’t procrastinate anymore.
So it’s a good idea to at least think about where you’ll be placing the supports, even if you’re not doing them right now.
In my garden, I’m not staking the bare root canes now – not much to support just yet. But I am staking the potted plants. I could have pruned them down to the ground and reset them for next spring. But letting the two existing canes grow as they came, as wispy as they may be, will ensure that I have at least a small harvest next summer.
Now allow me to go back to daydreaming of sunny days and bowls full of red, golden and black raspberries. It’s one of the few things that will get me through this winter.

Get the famous Rural Sprout newsletter delivered to your inbox.
Join the 50,000+ gardeners who get timely gardening tutorials, tips and tasks delivered direct to their inbox.