Have you ever had a gardening dream that you just couldn’t let go of? No matter what you planted, you wouldn’t feel that you’d “made it” as a gardener unless you accomplished this one specific goal.
For me, it has always been growing my own grapes.
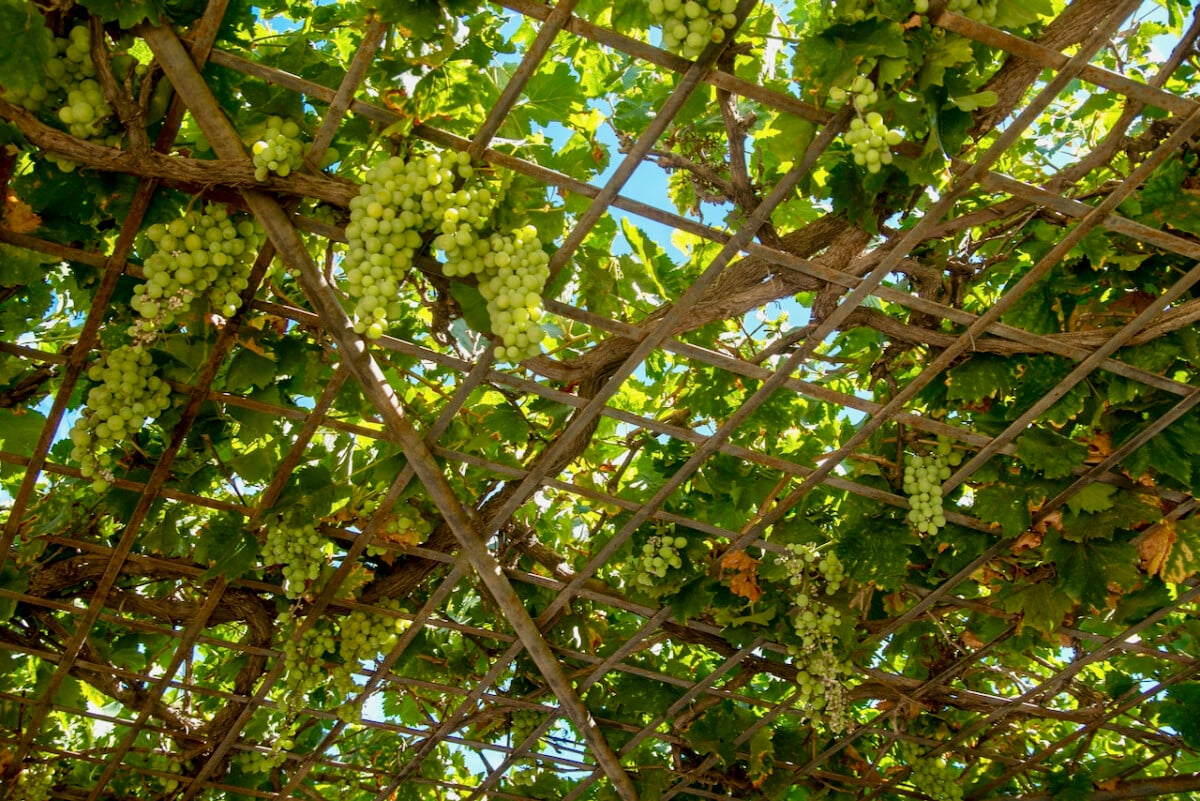
I grew up in a house that had an old grapevine canopy covering our back terrace. From the age of seven until my mid-twenties, the shade of a grapevine has provided a constant and reliable relief from sweltering summer heat.
Later, when I was living in a tiny apartment, I rented a few beds at a community garden that had grapevines growing inside and all along a domed greenhouse. We (the renters) had a teacher come show us how to prune it and how to train the vines. Those “garden work parties” are some of my most treasured memories from the years I spent gardening communally.
So it must have been in these formative years that my goal crystallized. As a gardener, I want to grow a grapevine in my yard.
The day has come today. As I moved into a new garden, I have the perfect little spot for vines. And I’ll take you along, dear reader, to show you that planting grapevines is not as intimidating as it sounds. We don’t need a vineyard in order to enjoy our own grapes in the fall, and neither do you.
What’s the best spot to plant grapes?
The best spot is the spot you’ve got.
In this case, I think we need to flip the question on its head: What kind of grapes can I grow where I am? Seeing that there are grapevines growing from Southern California to Michigan, it’s not necessarily a matter of climate, but a matter of matching your (micro-)climate to the type of grape you grow.

With grapes, perhaps more than with anything else, it pays to start your research locally.
In the United States, cultivated grapevines will be either:
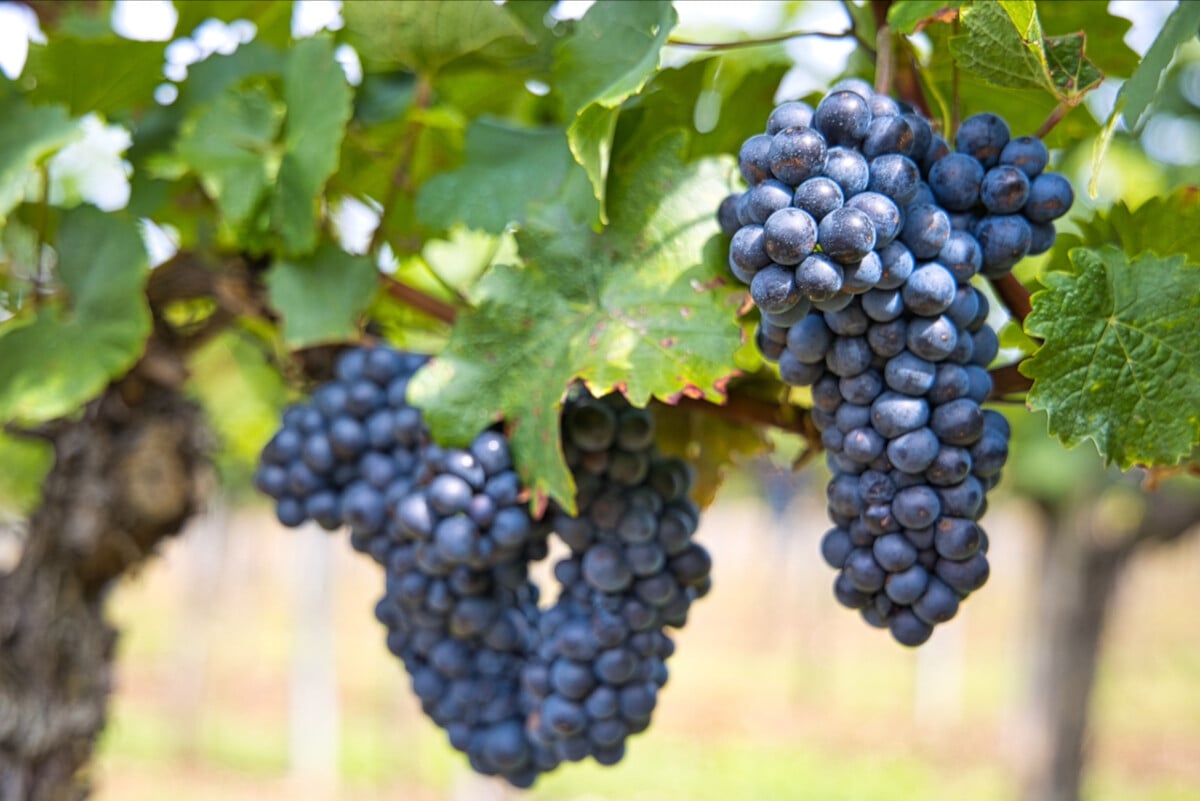
European grapevines (Vitis vinifera) – they have a high sugar content, which makes them excellent for winemaking; however, they are susceptible to cold injury, since they’re native to the Mediterranean region.
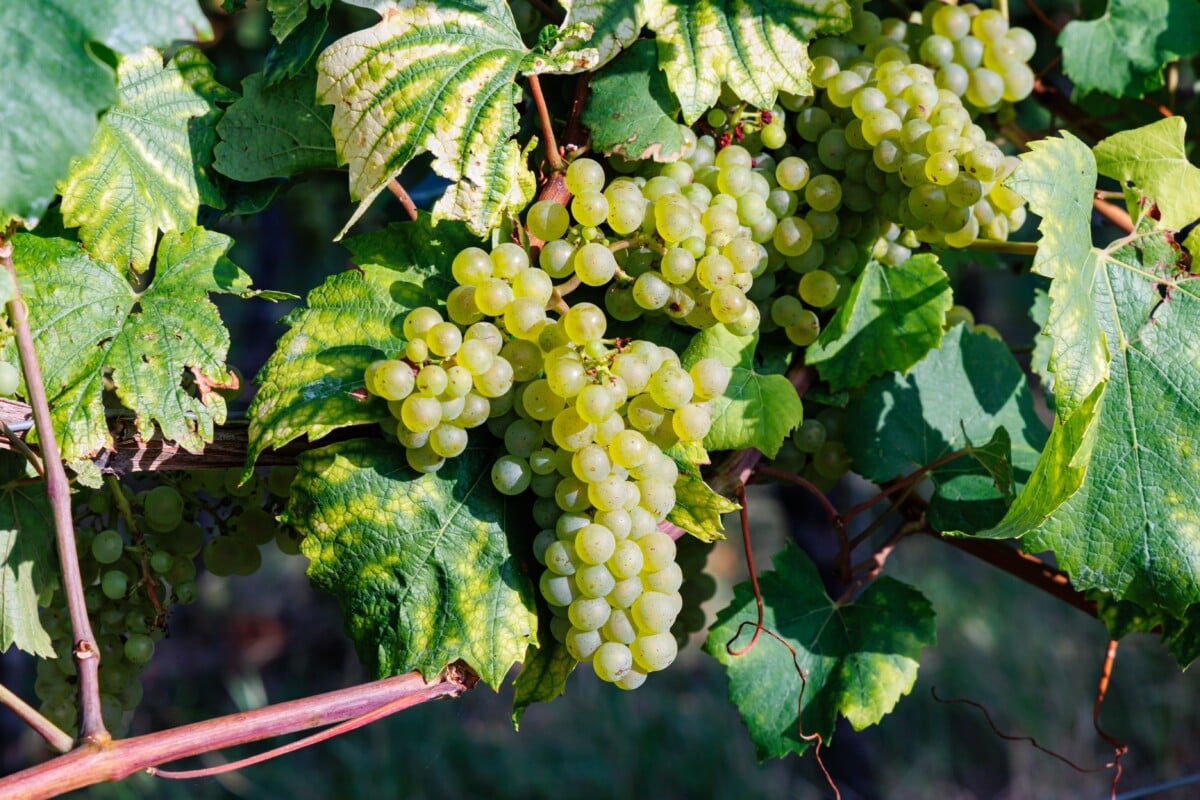
American grapevines (Vitis labrusca) – they are winter hardy and disease resistant; however, they are mostly used for making jams, jellies and grape juice. There are some popular American grapes used for winemaking, such as Niagara.
French hybrids – these are a cross between European species and American ones; hybrids were developed to be resistant to Phylloxera infestations. It’s European grapes on American rootstock. French hybrids are winter hardy and generally have a musky aroma.
How should I choose the best grape for my garden?
Always start your research locally.
Does your local university’s Horticultural Extension have a guide for growing grapes? Some universities may even have their own trial gardens in which they grow grapes.
Also, you can look up [YOUR STATE] + Grape Growers Association. Growers’ associations are organized locally and will often publish resources for best practices in your area.
To supplement your local research, I think this book would be very helpful.
Wine Grapes: A Complete Guide to 1,368 Vine Varieties, Including Their Origins and Flavours by Jancis Robinson, Julia Harding and Jose Vouillamoz. This is a classic tome, if a little expensive.
Here’s what grapevines like, in general.
Grapes can grow well in most types of soil. However, they will thrive in rich sandy loam or clay loam as long as it’s well-drained.
In terms of sun, there’s a reason why you’ll often see grapevines growing on hills. They need as much full sun as they can get. If you don’t have access to any spots that get full sun, plant them in a spot that gets late morning to early afternoon sun. Different types of grapes will require a different number of sunny days to ripen fully, so again, it’s important to adapt your choices to your climate.
Good air circulation is crucial for grapevines, so keep this in mind when you’re planting them along a wall.
What’s the best time to plant grapevines?
Grapevines usually come either as potted plants or bare roots.
Potted vines are easy. We can plant them during the growing season because they’re already established. All we’re doing is transplanting them from pot to ground. Or sometimes, from pot to larger pot or barrel.
If you want to grow a grapevine primarily for shade or for training along a pergola, an arbor or a trellis, I think buying a potted one is the best choice.
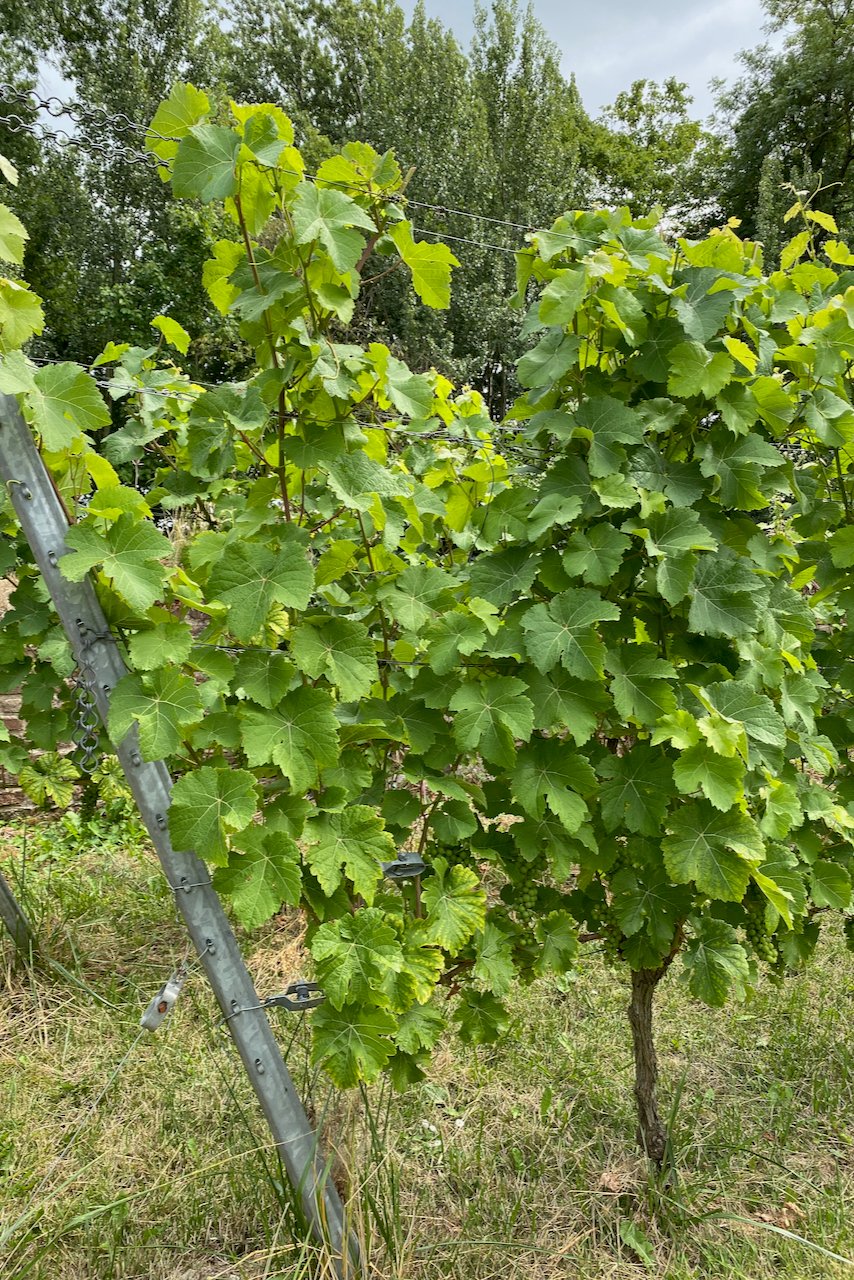
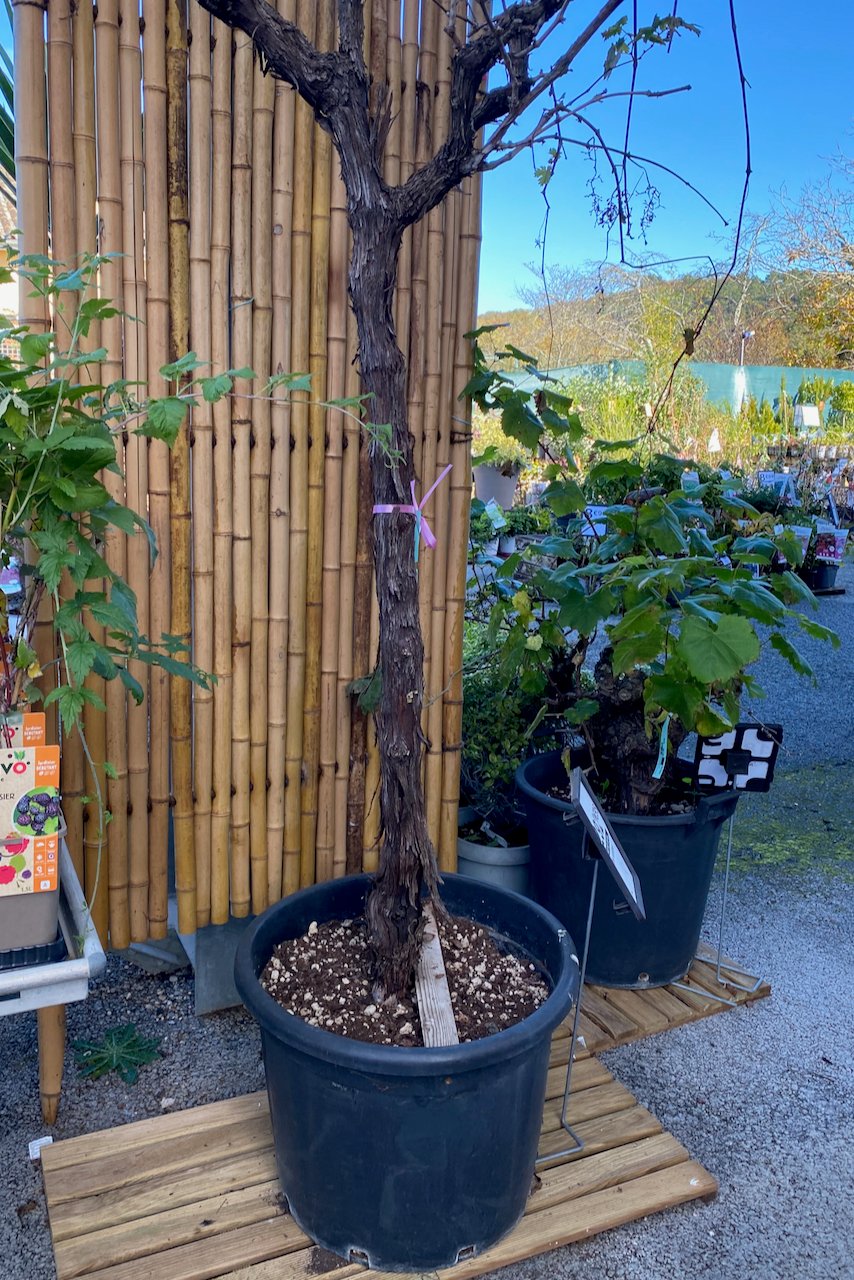
The more mature, the better. If you can afford it, that is. Look at the price tag on this grape vine at my local garden center.
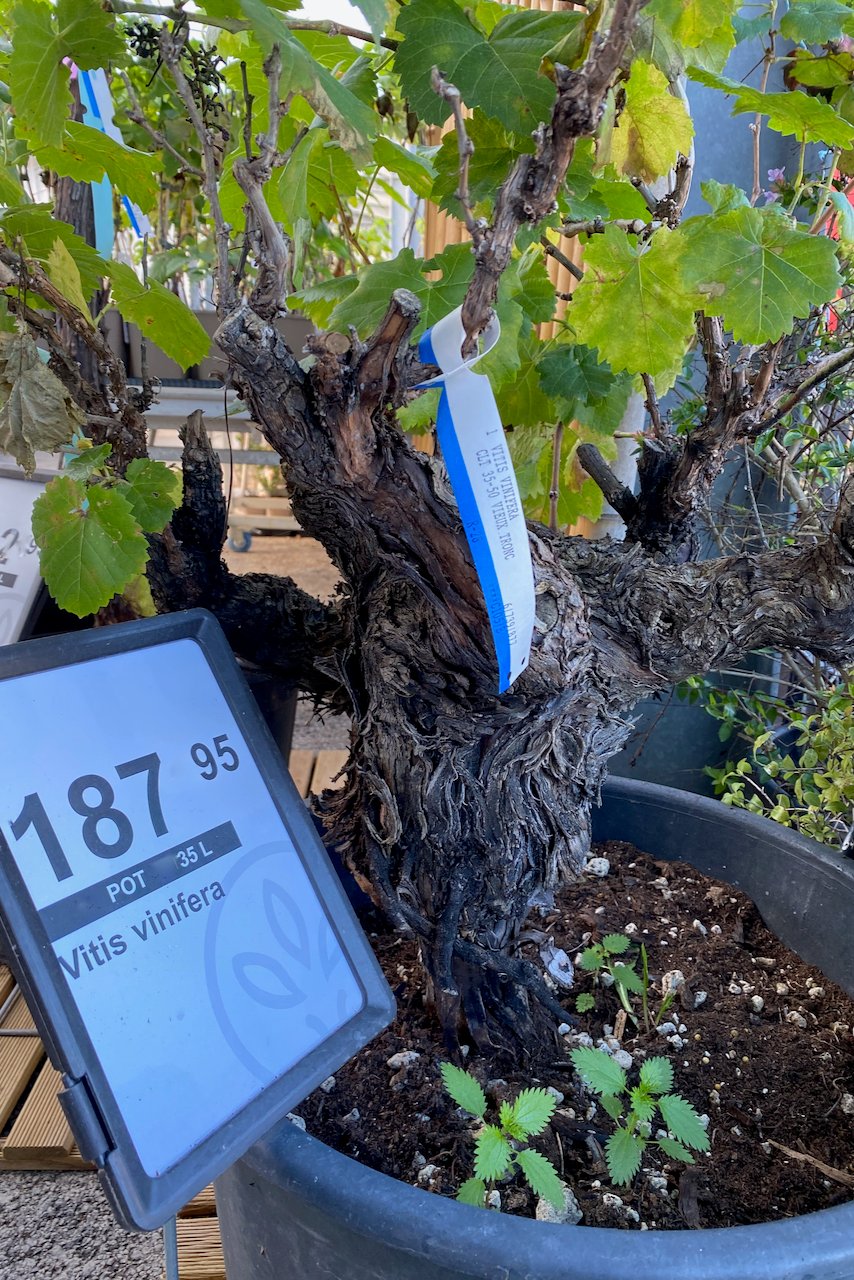
But once you’ve picked your jaw off the floor, take a moment to appreciate how old that trunk is. This is exactly what we’re paying for. We get to skip possibly a decade or more of waiting patiently for it to get this mature. I think it’s totally worth it.
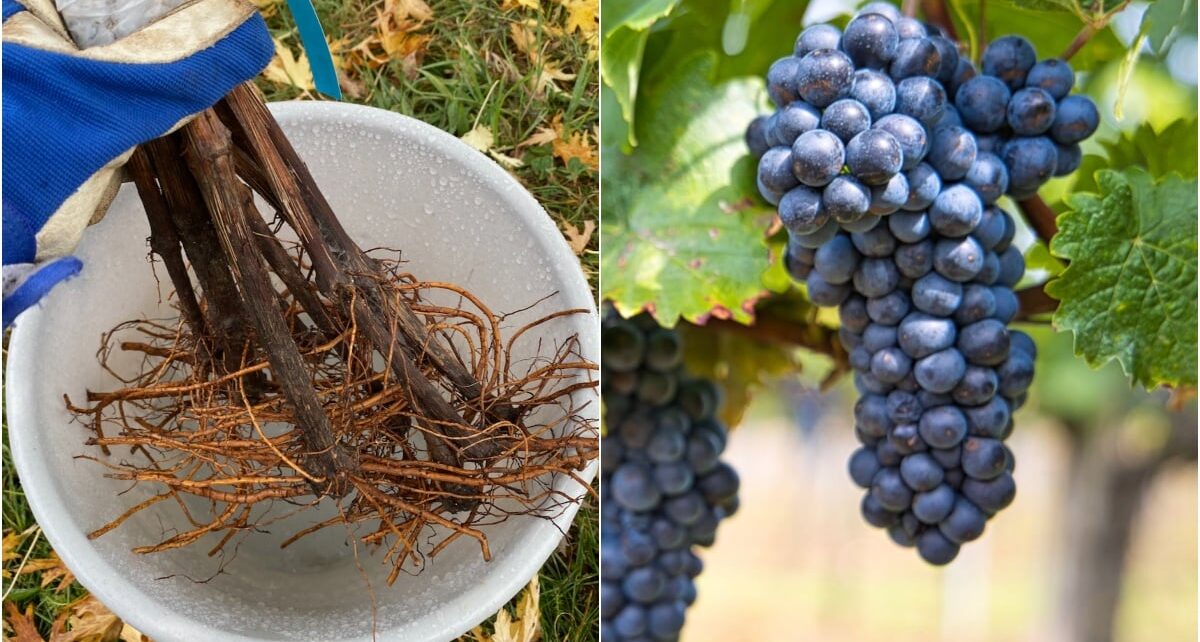
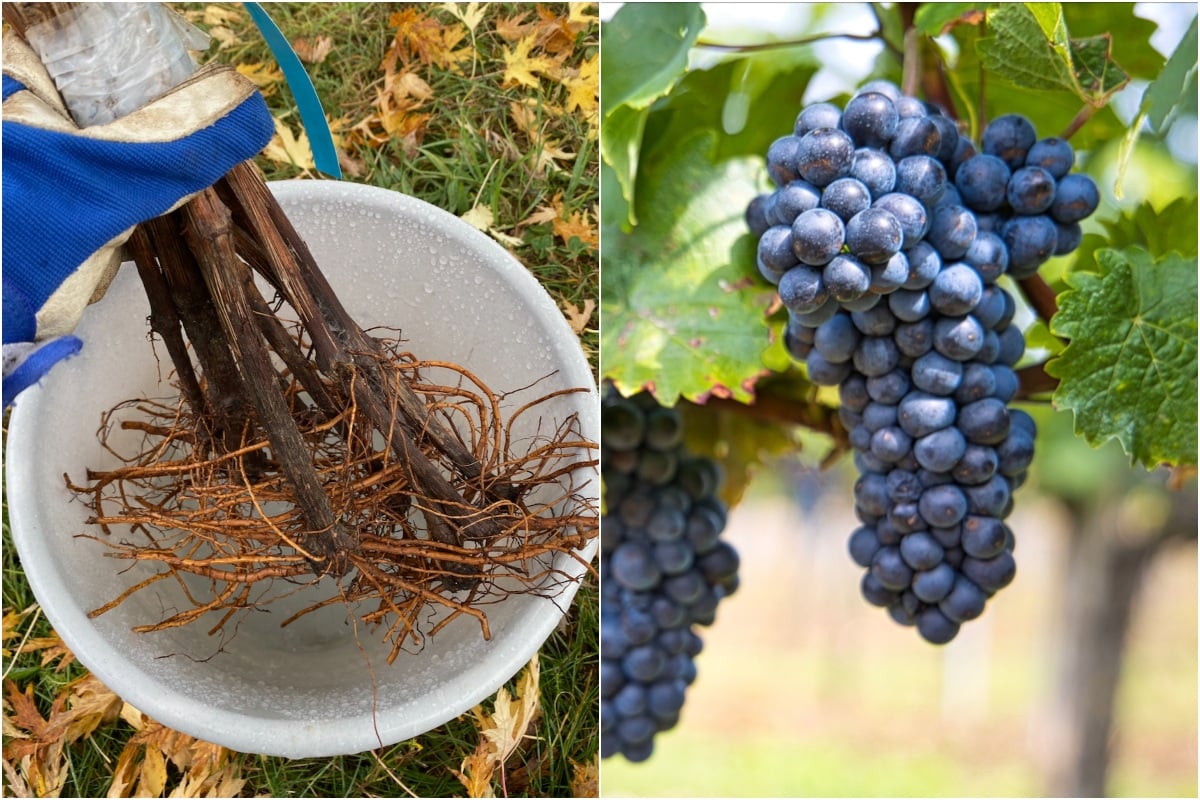
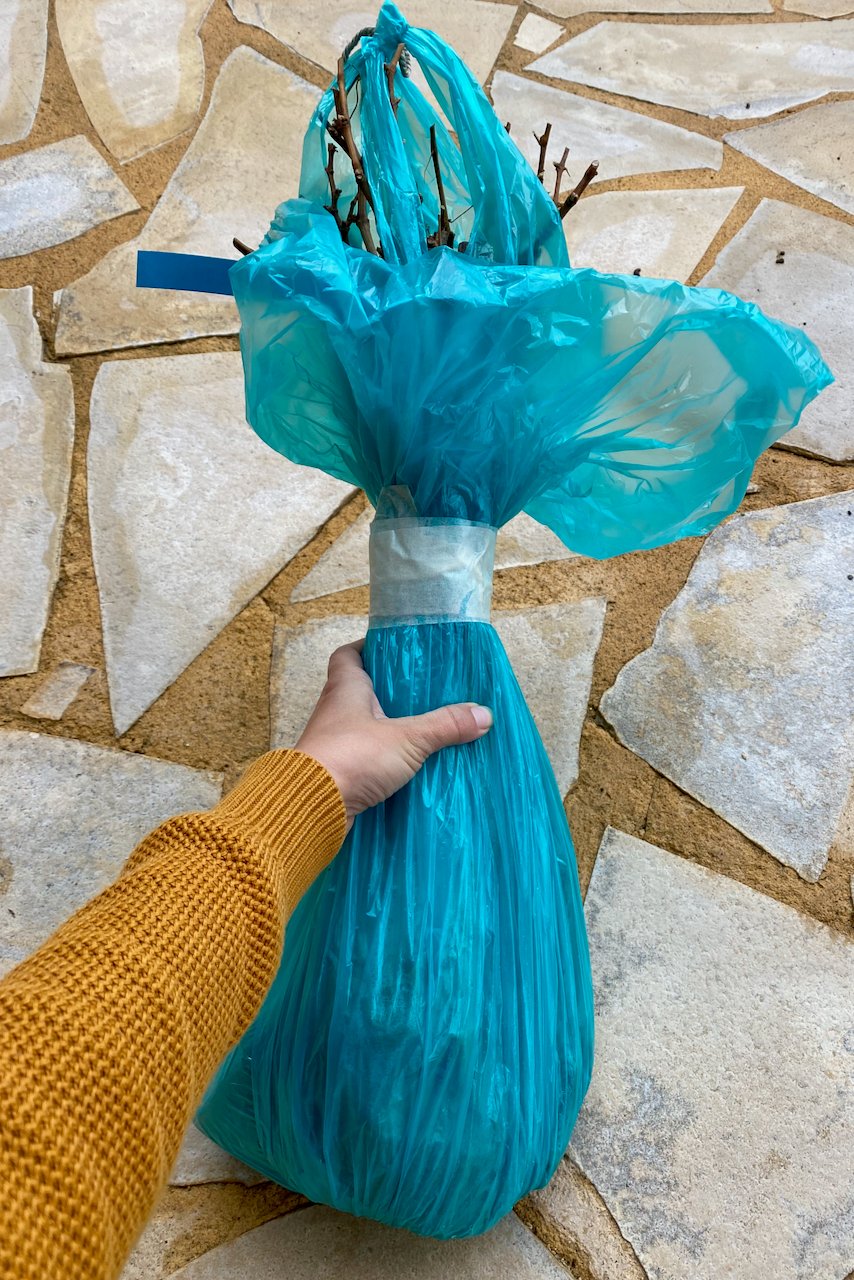
The more affordable option: buying bare root grapevines.
The second option for planting grapevines is buying them bare root. They are much, much cheaper than already grown vines, but we have to invest time in training them.
Also, as with all bare roots, we can only plant vines when they’re dormant. This gives us a tighter window to work with that spans generally from October to March if you live in the south, or fall and spring if you have harsh winters.
Get the timing right when planting grape vines.
In the fall, it’s best to plant about six weeks before the first frost of the season. This varies depending on what USDA zone you’re gardening in.
This will give the roots plenty of time to acclimatize and start growing. It’s worth mentioning that the roots will continue to develop underground as long as you don’t get a deep freeze (i.e., the ground they’re planted in doesn’t freeze).
If we plant in spring, it’s best if we wait until after the last deep frost of the season.
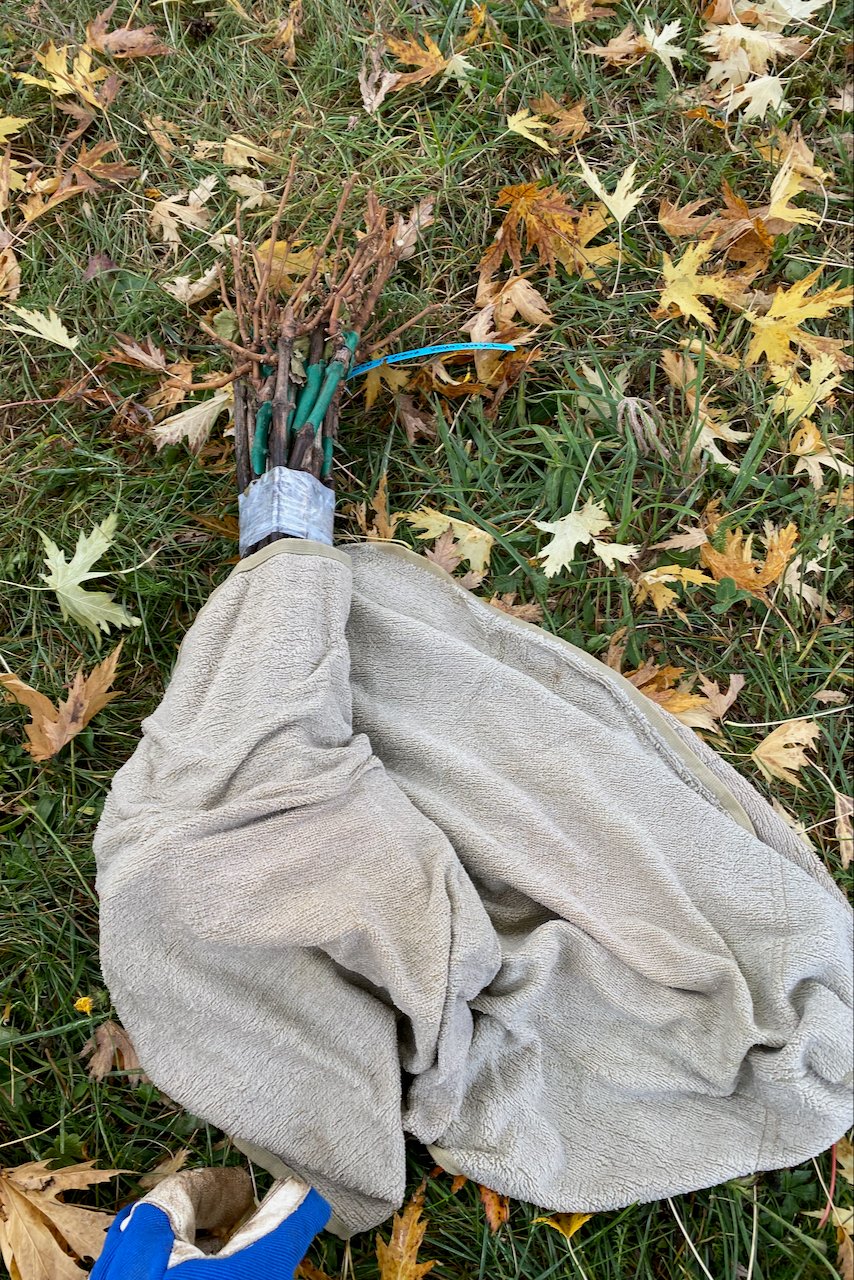
This is very important! Whenever we buy the bare roots, whether spring or fall, we have to plant them right away.
We can’t buy them in November, for example, and plant them in February, just because they’re dormant. They will dry out. At most, we can buy ourselves a few days by wrapping the roots in a wet towel and storing them in a cool, dark place. Only do that in a pinch, if you absolutely have to.
One thing I learned, which I hadn’t necessarily thought about before the teacher mentioned it, is the so-called “shoot-root competition” that happens in spring.
Basically, when we plant in spring, both the roots and the new sprouts will start growing almost simultaneously. That’s why roots will generally establish faster when we plant them in the fall, when the buds (shoots) are not ready to swell up just yet.
Either way, there are ways to mitigate the shoot-root competition, so if you’re reading this in the spring, go ahead and plant the vines anyway.
Time to get some grapevine roots in the ground. Here are a few things we have to do:
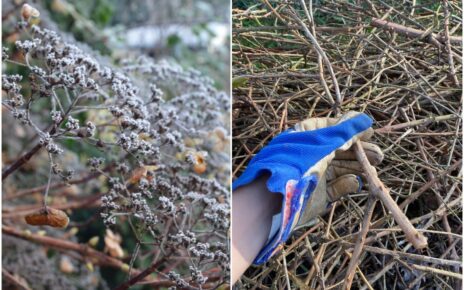
Tip 1: We have to rehydrate the bare roots.
Whether we bought the roots directly from a local plant nursery or ordered them online, they have been out of the ground for a while. That’s why we always have to start by rehydrating them.
The best way to do this is by soaking them overnight in a bucket of room-temperature water. If you don’t have time for overnight soaking, try to get at least a couple of hours in.
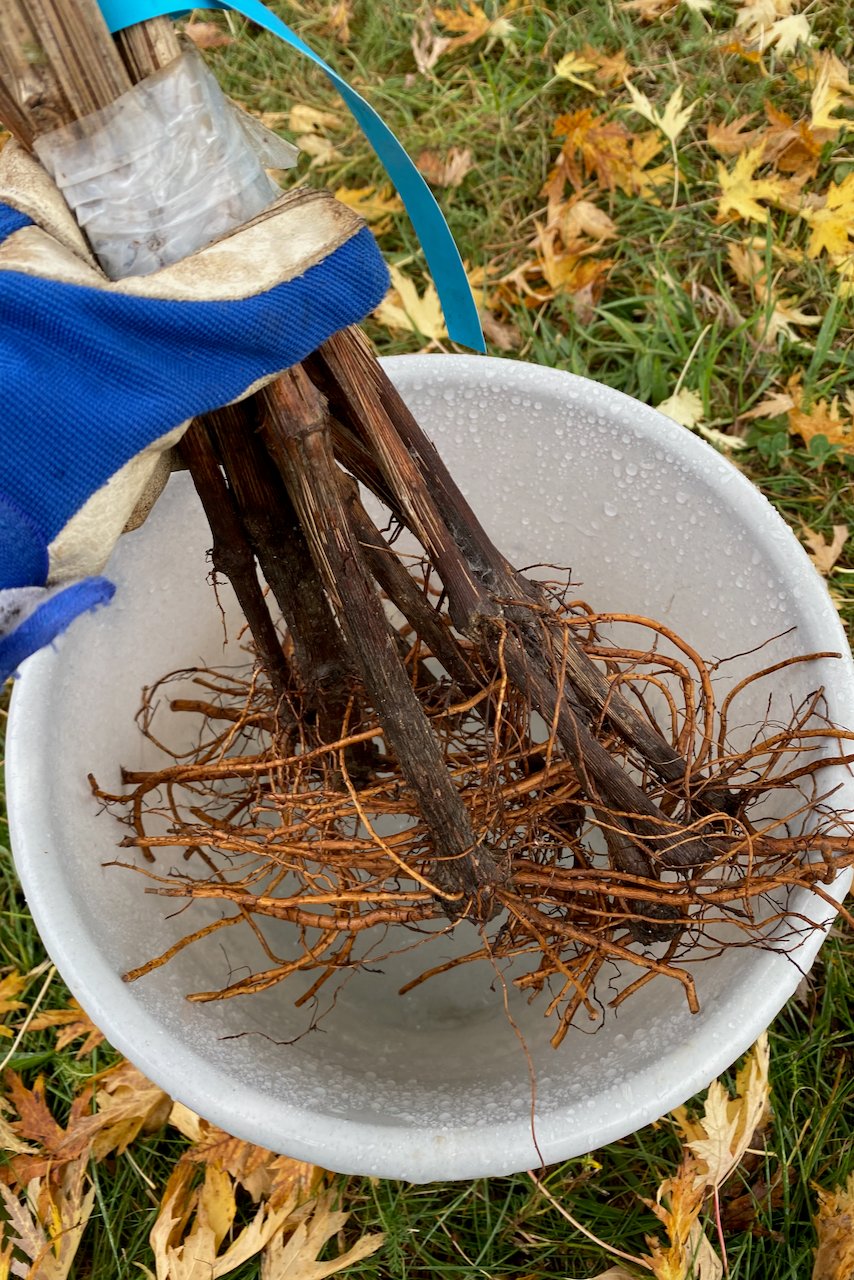
When we soak bare roots, it’s important that we only soak the root portion. So the water level in the bucket should only cover the roots. Don’t submerge the stems.
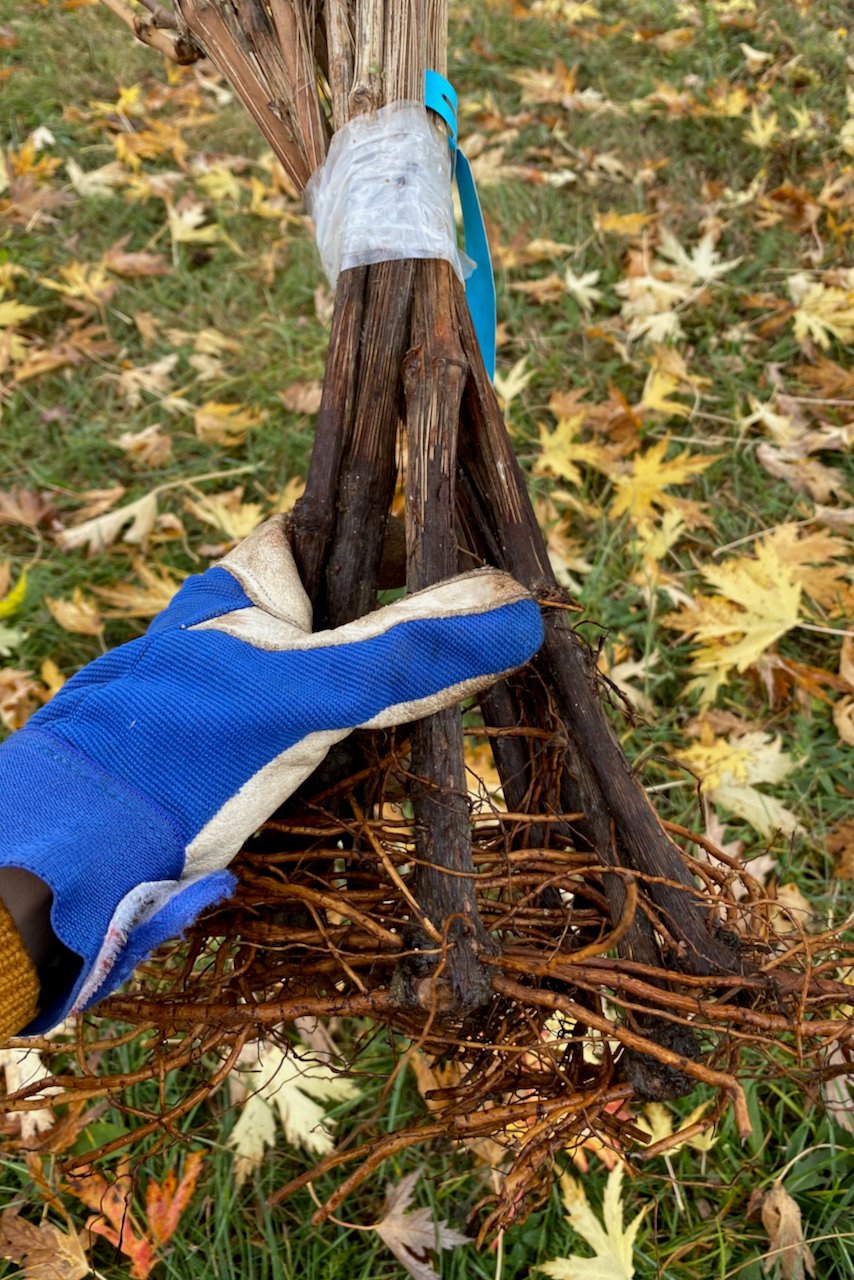
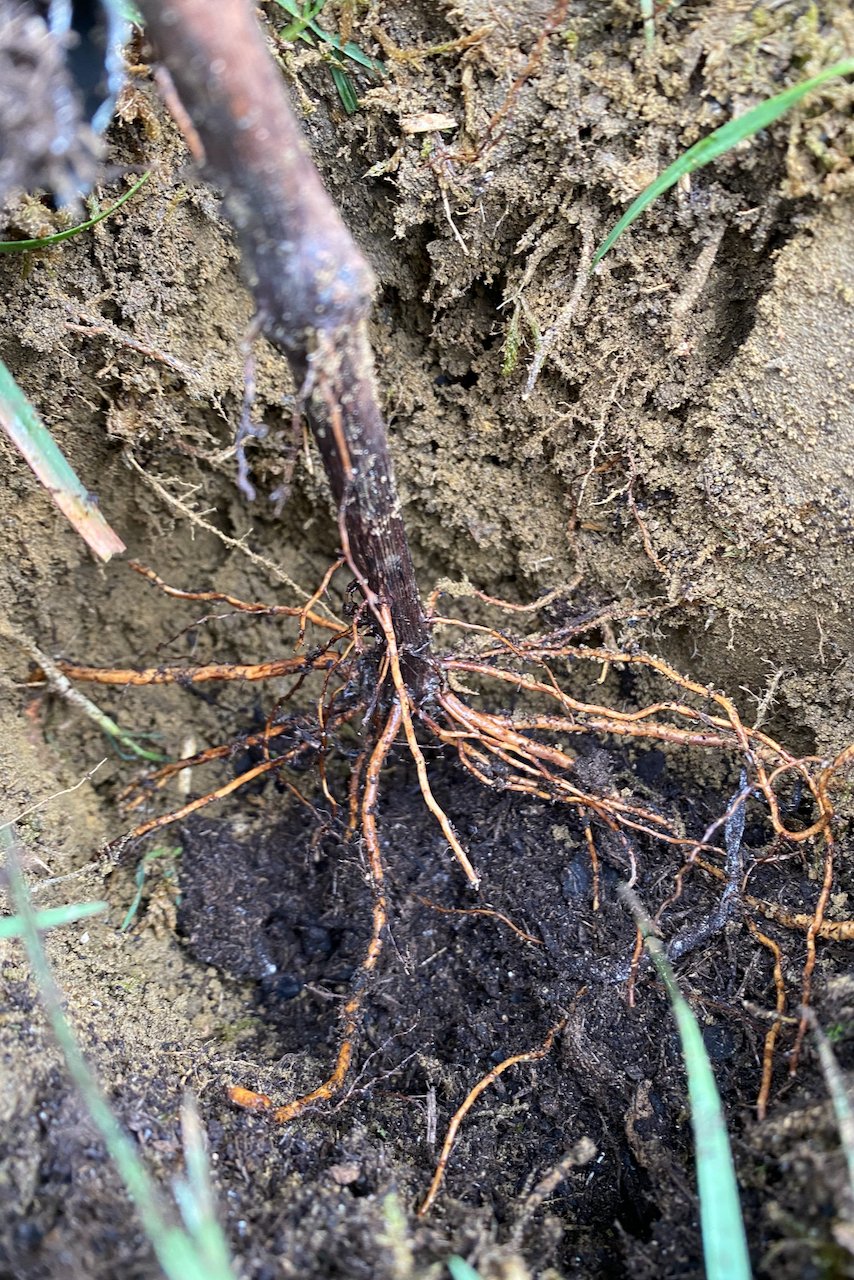
Tip 2: We have to maintain the planting depth as much as possible.
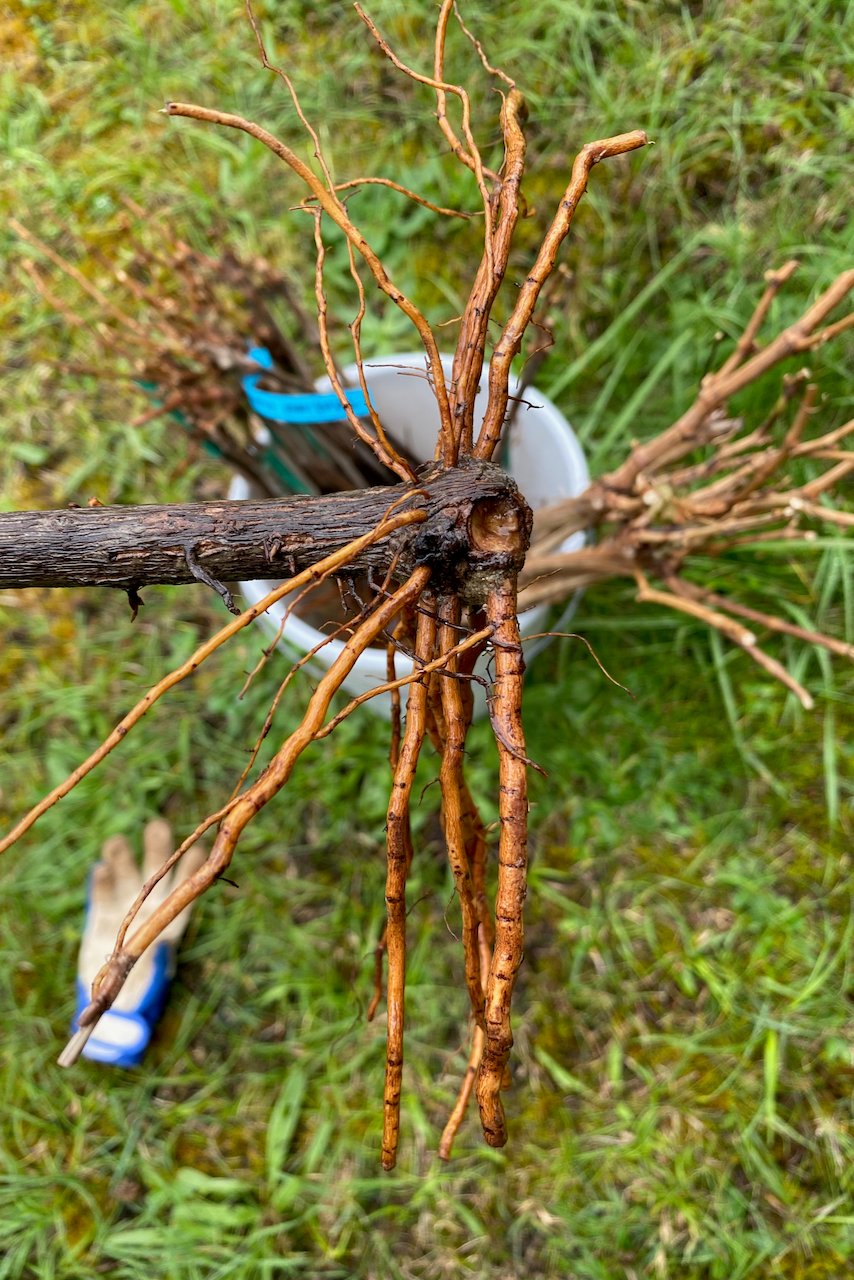
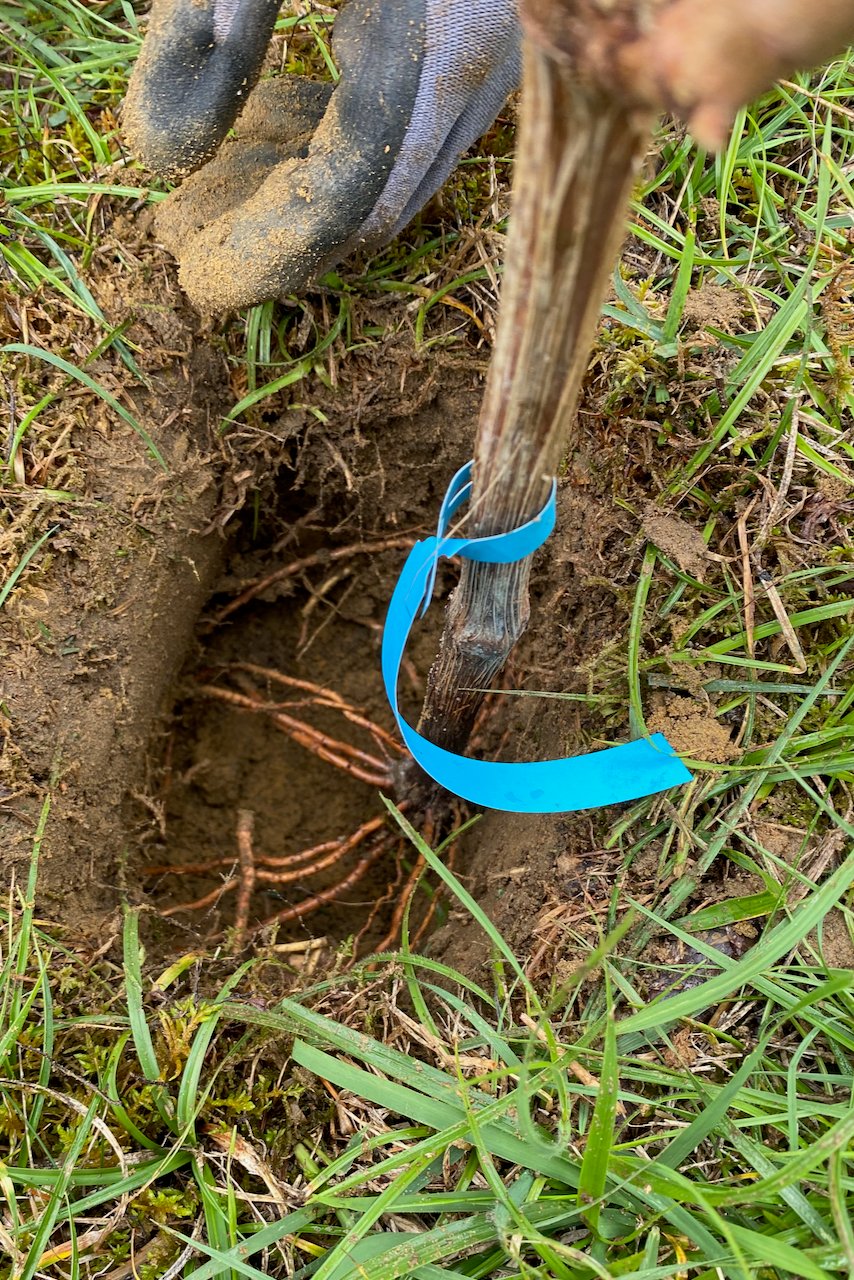
This means we have to bury the vines at the same depth that they were buried before being dug out and shipped as bare roots. Most of the time, it’s easy to tell where that was if we examine the trunk. Look for the chunk that’s darker in color. That’s your clue. That’s the part we have to put underground.
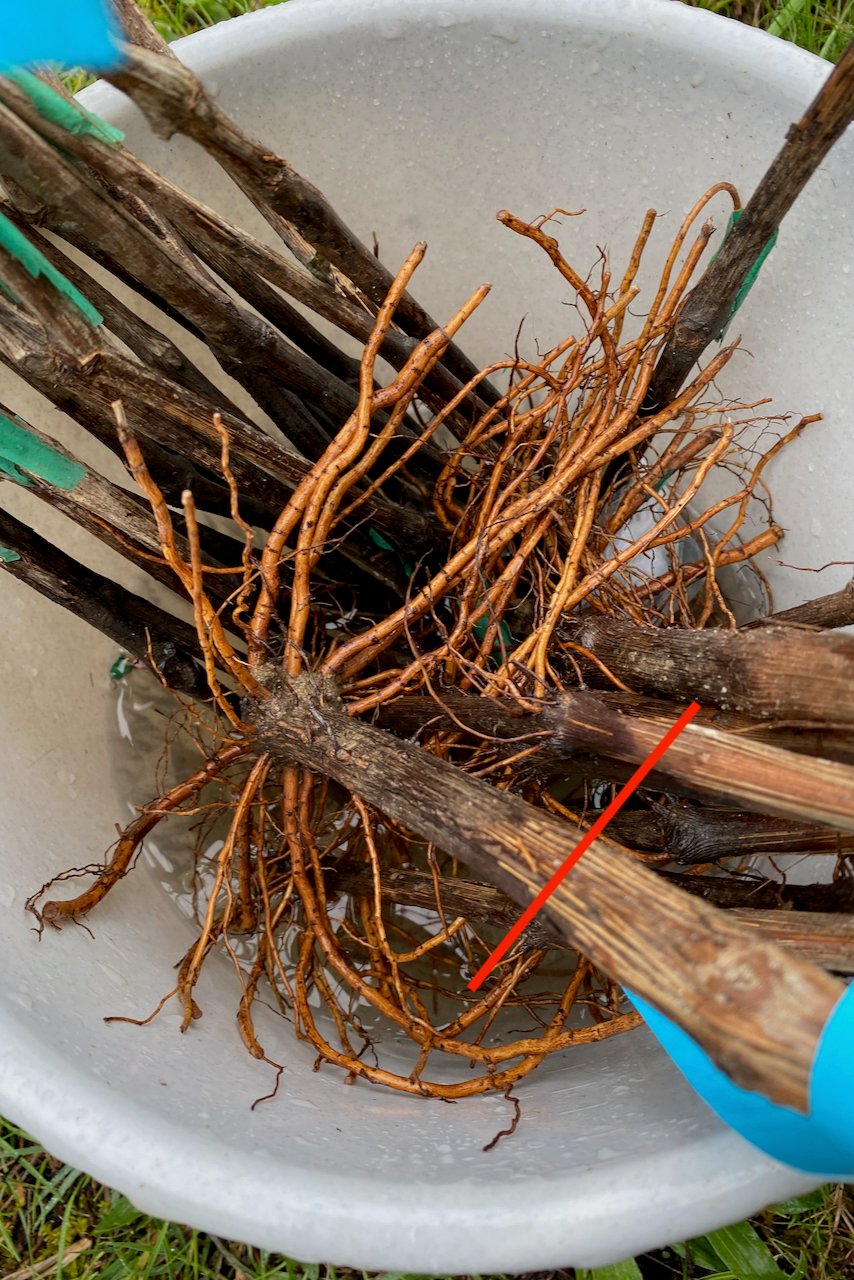
If you can’t tell, another good clue is that the highest up roots, which can sometimes be coming from a different node than the lower roots, should be underground.
If you’re planting potted vines, it’s easier. Just slide the roots still in the potting soil out of the pot and plant everything level with the soil in your garden.
Tip 3: Dig a hole large enough for the roots to spread out.
How big a planting hole do we need for grapevines?
That depends on the size of the roots. I dug about 15 inches deep and 10 inches wide. Then I backfilled with some fresh compost the bottom three inches or so. It’s important for the roots to have nutritious, uncompacted soil to expand into, at least while they’re getting situated.
When we put the roots in the ground, we have to fan them out in all the directions they’re naturally growing in, but don’t force them or contort them. A few of my bare roots were bald on one side, so I’m planting them as they are.
I then fill the hole back up with fresh compost and, if needed, mix a bit of the soil that I took out back in.
Optional, but helpful if we’re planting in spring:
We can trim the ends of the roots just an inch or two before we put them in the ground. This helps stimulate the growth, but only do this if you’re planting in spring, not in the fall or winter.
Tip 4: Keep the vines watered.
Grapevines are very drought-resistant once established. That’s the key here. Once established. And in order to get them established, we have to keep them watered.
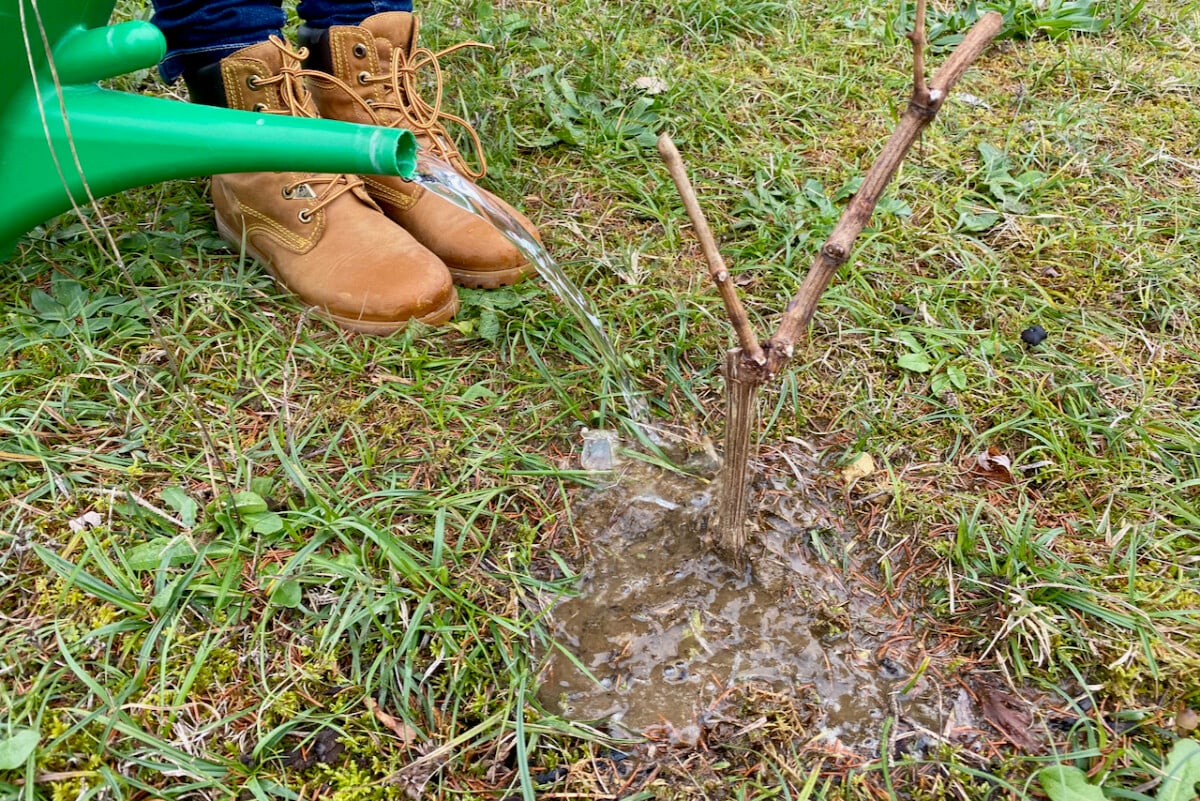
We have to deep water newly-planted grapevines in order to stimulate downward growth. Most root systems will go to about 35 inches deep in the first couple of years.
Tip 5: Vines don’t need mulching.
I’ve read conflicting advice on whether we should mulch grape vines or not. The University of Minnesota Extension recommends not mulching vines. Mulch can keep the soil too cool in the winter, while grapevine roots need warmth.

Other resources recommend mulching, but removing the mulch in spring (for the same reason). I chose not to mulch in the fall because I’m gardening in an area with mild enough winters. In addition to that, the hill that I am planting the vines on has a south-south-west orientation that allows for plenty of sun coverage, even when the sun is low in the winter.
In spring, I will add another handful of compost as mulch, just to top up the soil that will have settled throughout the winter months.
How long until my grapevine produces grapes?
If you bought an already mature vine, like the expensive one in my photo above, you’ll probably get to eat grapes in that first fall. Lucky, lucky!
But I’ll assume that, since you’re reading this tutorial, you’re planting a bare root grapevine. In which case, we have to take a long-term approach. In the first year, our goals will be:
- To establish a strong root system
- To establish a strong main trunk.
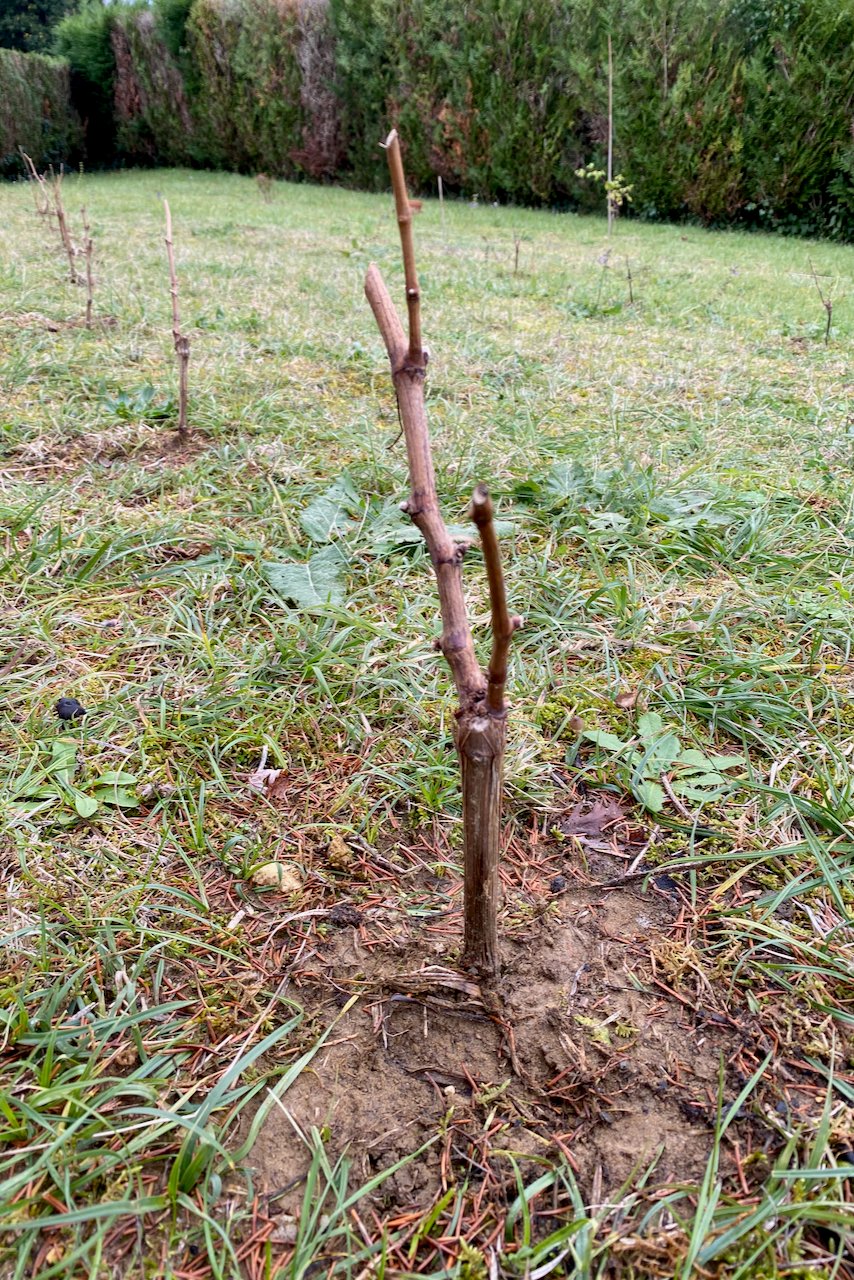
With careful pruning and training, we can start harvesting grapes by year three.
I’ll leave these two topics for later, though. We’re building one skill at a time. And for now, I hope that you have gained the confidence to plant grapevines.

Get the famous Rural Sprout newsletter delivered to your inbox.
Join the 50,000+ gardeners who get timely gardening tutorials, tips and tasks delivered direct to their inbox.