If you do a lot of cooking, you likely go through herbs and spices much quicker than most. And if you’re anything like me, I’ll bet you go through garlic powder like it’s going out of style.
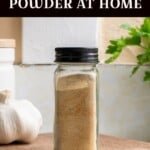
Garlic makes everything better. (Except for maybe chocolate.) But why settle for the flavorless store-bought stuff when you can easily whip up a bottle of garlic powder at home?
Why Homemade is Better
Now, I know what you’re thinking.
“Seriously, Tracey? Why would I bother making something I can easily buy at the supermarket?”
Because it’s fresher and it tastes so much better. Trust me on this one. Or, prove it to yourself by making it.
With store-bought garlic powder, you have no idea how long it’s been sitting in that bottle before you buy it or how fresh the garlic was that made it. And when you’re choosing to use garlic powder rather than fresh garlic, that flavor matters. Plus, it’s kind of impressive reaching for a bottle of garlic powder among your herbs and spices that you made yourself.
Dried garlic is potent.
So, while I love fresh garlic and use it most often, when I really want to kick up the garlic factor, I reach for my powdered garlic. Not to mention it’s super convenient. Not every recipe needs to have freshly minced garlic, and many, like casseroles, call for garlic powder instead.
Making Garlic Powder is Easy
To make garlic powder, you don’t need fancy equipment; you don’t even need to drag out the dreaded food processor. (Why are there so many pieces to clean, and why does it never fit fully assembled in a cupboard?)
The only “special” equipment you’ll need is your blender or a spice/coffee grinder.
I should mention that if you intend to use a coffee grinder. Do not use the same one you use to grind your coffee with. The natural oils in coffee beans will pick up the garlic powder, and you will enjoy garlic-flavored coffee henceforth.
Okay, so maybe chocolate isn’t the only thing that garlic doesn’t make better.
Oddly enough, I grind spices quite often, and I have a KRUPS electric coffee grinder (this one) that is absolutely terrible at grinding coffee, but is the perfect spice grinder. It is my dedicated spice grinder, and it does a great job of making garlic powder.
(This is the coffee grinder I use to grind my coffee because we don’t mess about when it comes to coffee drinking in this house.)
But beyond something to grind your garlic with, all you need is a sharp knife, a cutting board and a baking sheet lined with parchment paper.
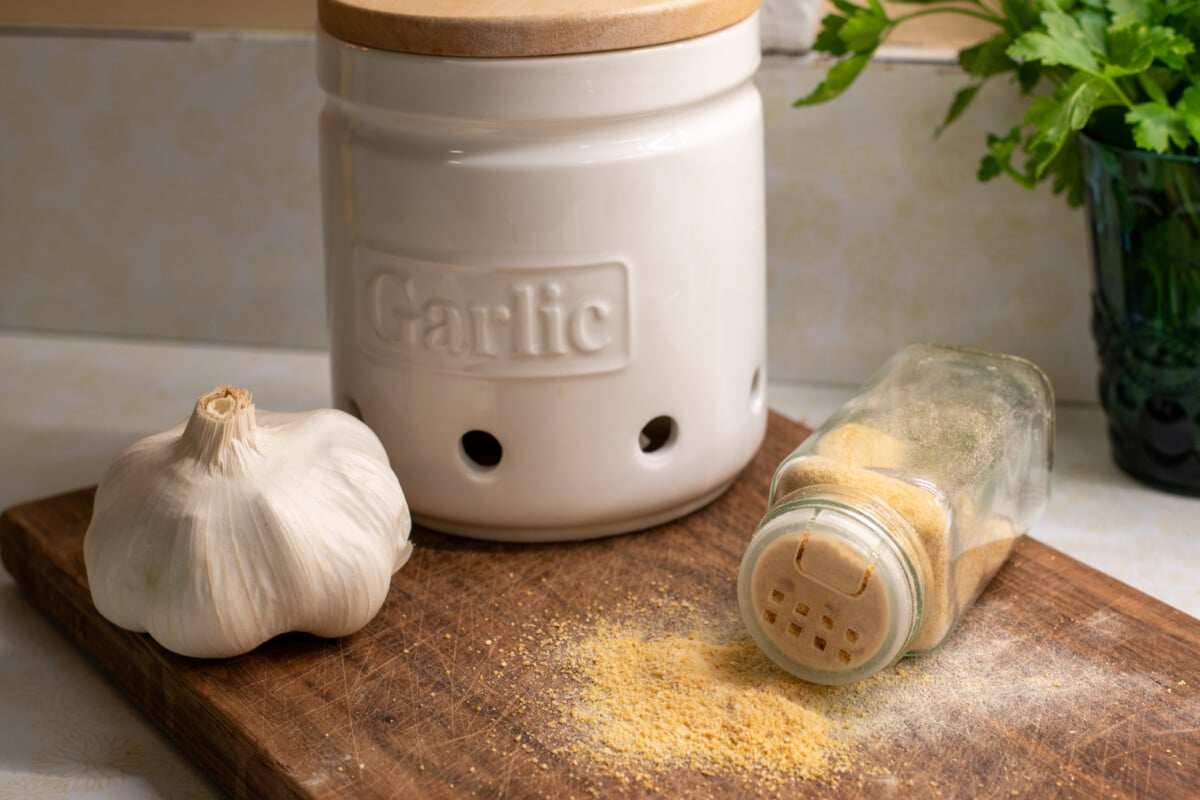
Choosing Your Garlic
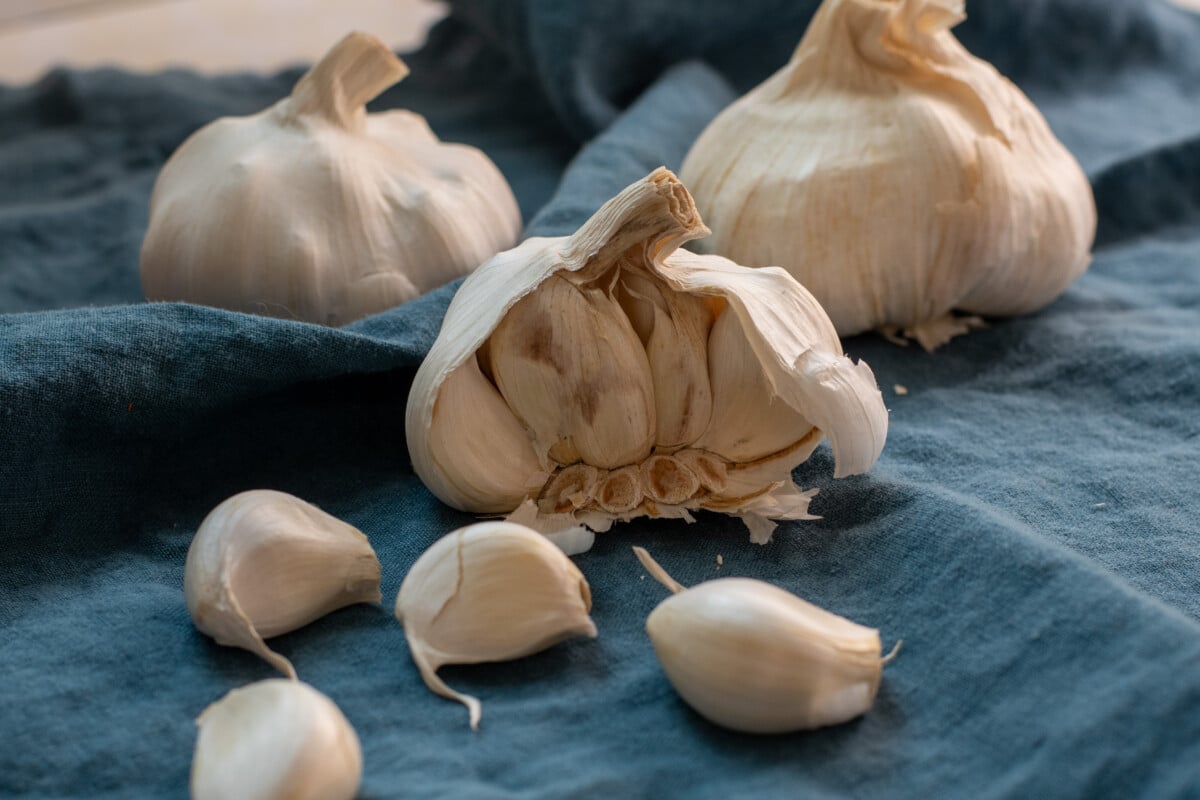
For the most flavorful garlic powder, you’ll want to choose large bulbs that are fresh. Look to see if the garlic has begun to sprout. If it has, choose another bulb. The bulbs should feel firm and full. If you grow your own garlic, making garlic powder is a great way to enjoy your homegrown garlic throughout the year. (Click here to learn how to grow your own garlic. It’s easier than you would think.)
I usually do three full bulbs at a time, as this is about how much I can fit onto my baking sheet.
Let’s Get Started
Peeling
Separate the cloves from the bulb, then peel each clove. I have tried all the fancy garlic-peeling hacks (you can read my findings here), but there is only one that I use every single time. It’s the fastest and easiest.

Trim the end of the garlic that was attached to the stem. Now lay the clove on its side and using a chef’s knife, lay the flat of the blade on top of the garlic. Using the palm of your hand, give the flat of the blade a solid thump.
You’re not trying to smash the garlic, so don’t overdo it.
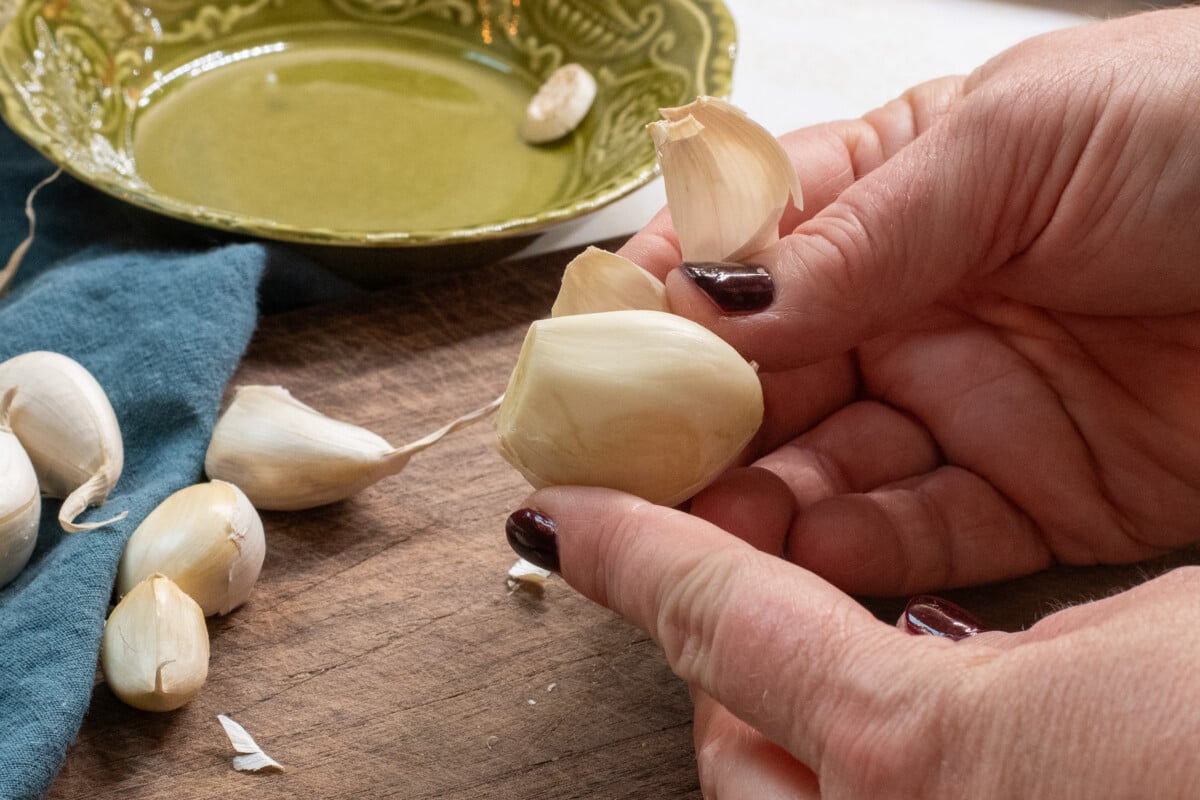
The blunt force causes the papery skin to separate from the garlic clove, and most times it will fall right off with only a little encouragement from you. The rest of the time, it peels off easily.
Dispose of any rotted cloves; you don’t want those in your finished garlic powder.
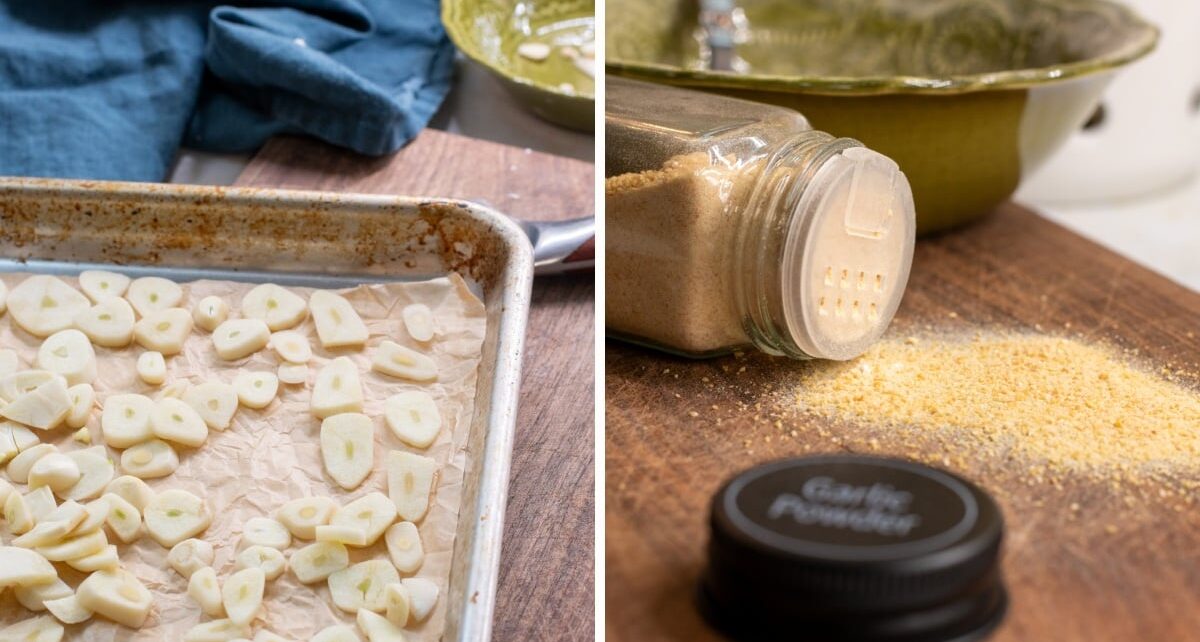
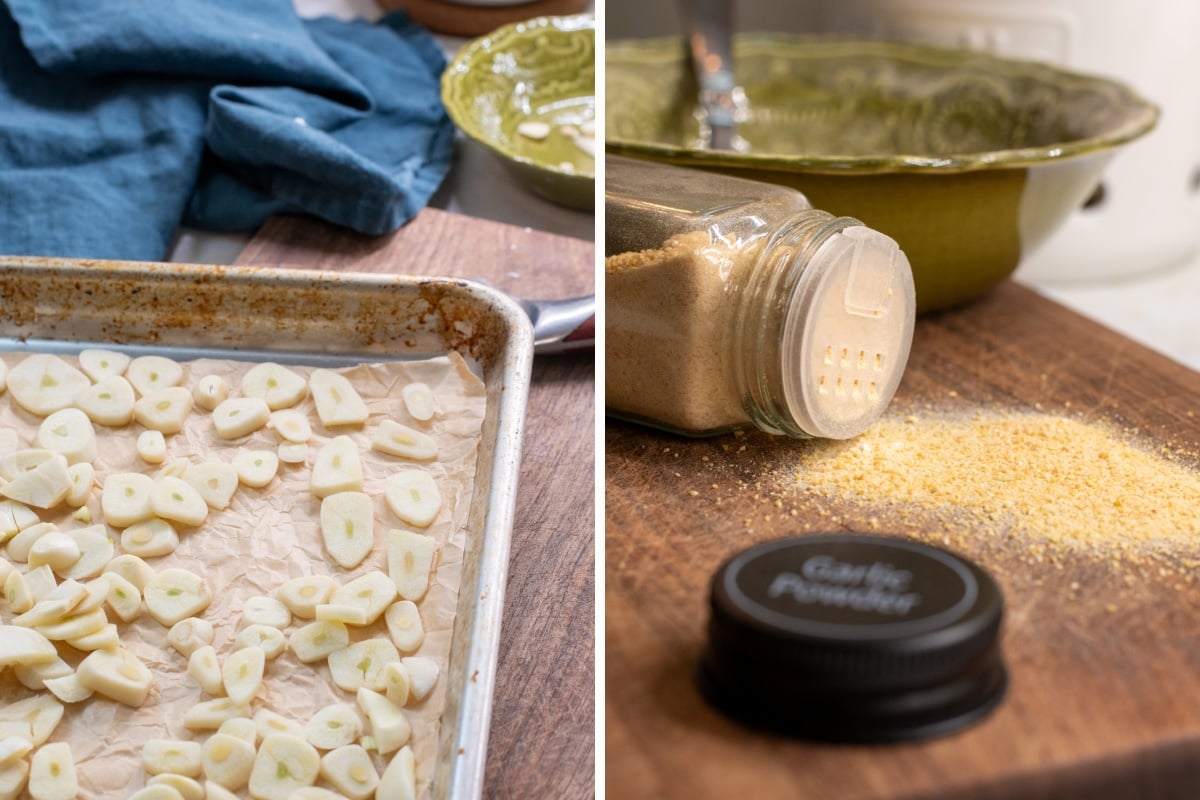
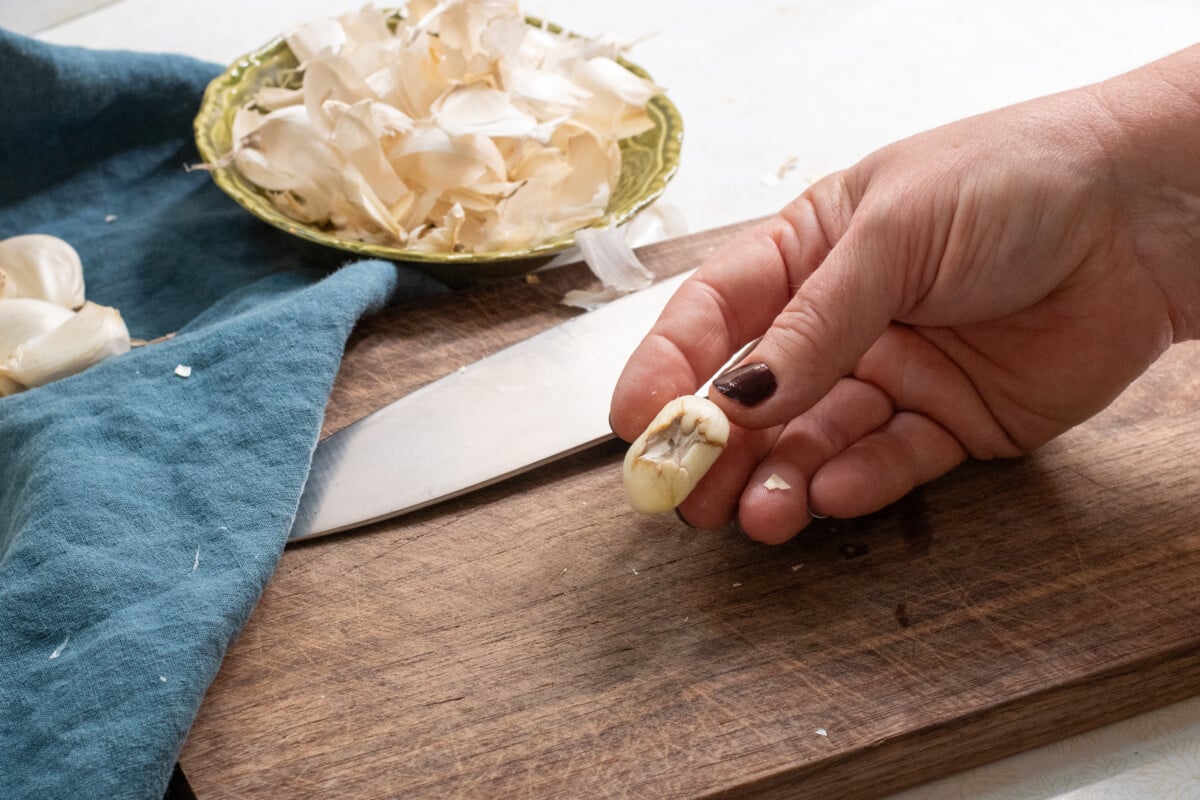
Slicing
Prepare your baking sheet with a silicone mat or parchment paper. Slice your garlic into uniform pieces that are roughly 1/8” thick.
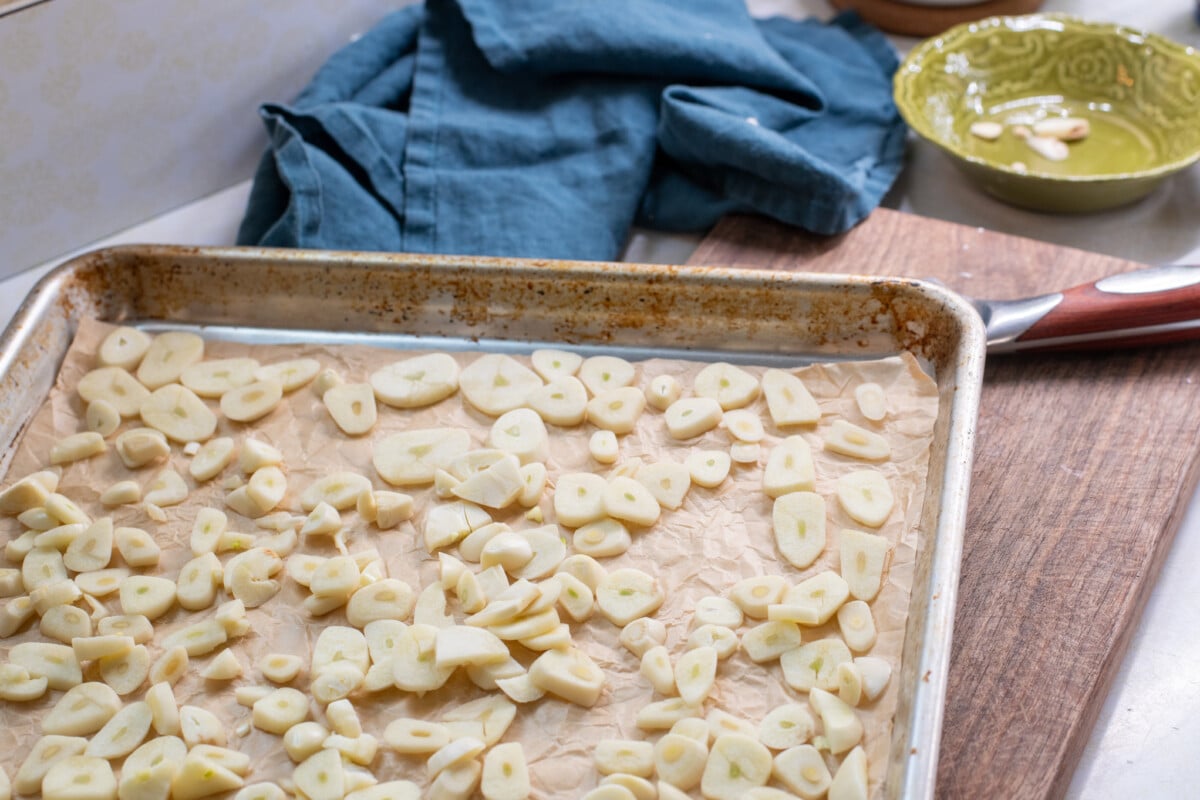
Spread out the garlic on the baking sheet, making sure there aren’t bunches of sliced garlic stuck together.
Gently Bake Your Garlic
Now, we’re going to gently heat our sliced garlic with low heat and let it dry out slowly. Set your oven or toaster oven to 150-170 degrees F and pop in your tray. (If you have a food dehydrator, they work great for garlic powder.)
I’m going to warn you: your house is going to smell like garlic. Shocking, I know.
The goal is to slowly bake the moisture out of your garlic slices at a low temperature. The temperature must be low; otherwise, the garlic will be overly browned and taste bitter.
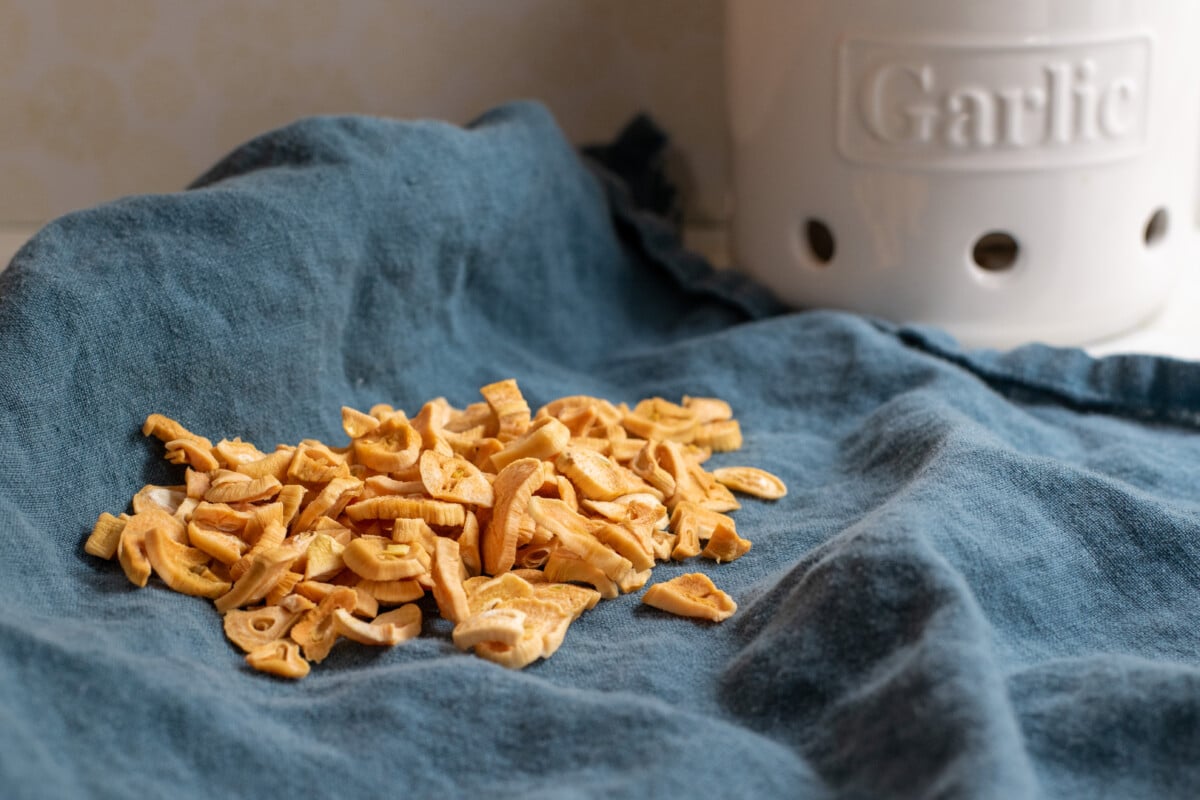
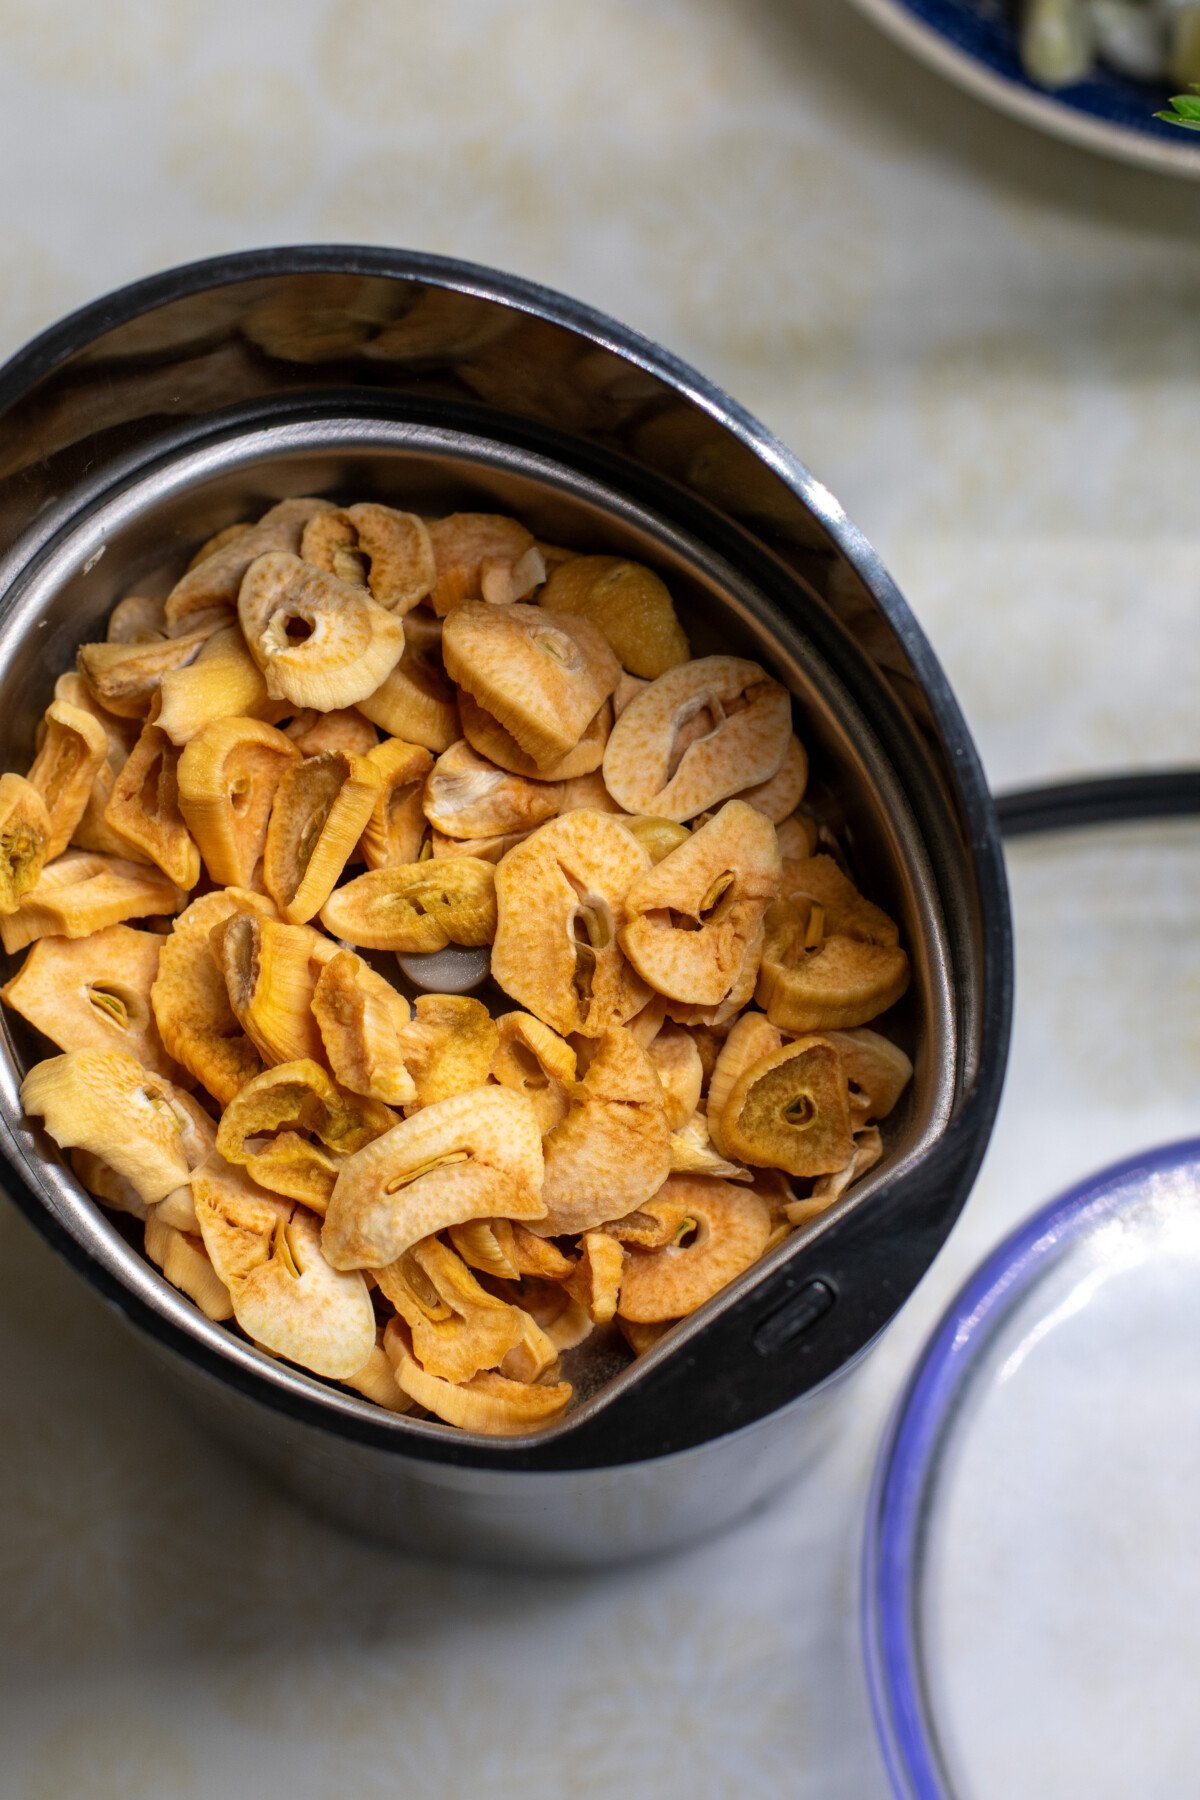
Bake the garlic for 2-4 hours, checking on it every hour. Pull the garlic out of the oven when it’s golden and stiff, but has a little bend to it. Once it’s completely cool, it should have a crisp snap when you break it in half. If it doesn’t, you’ll need to bake it longer.
Pull out any pieces that have finished baking before the others, so they don’t burn.
Grind Your Powder
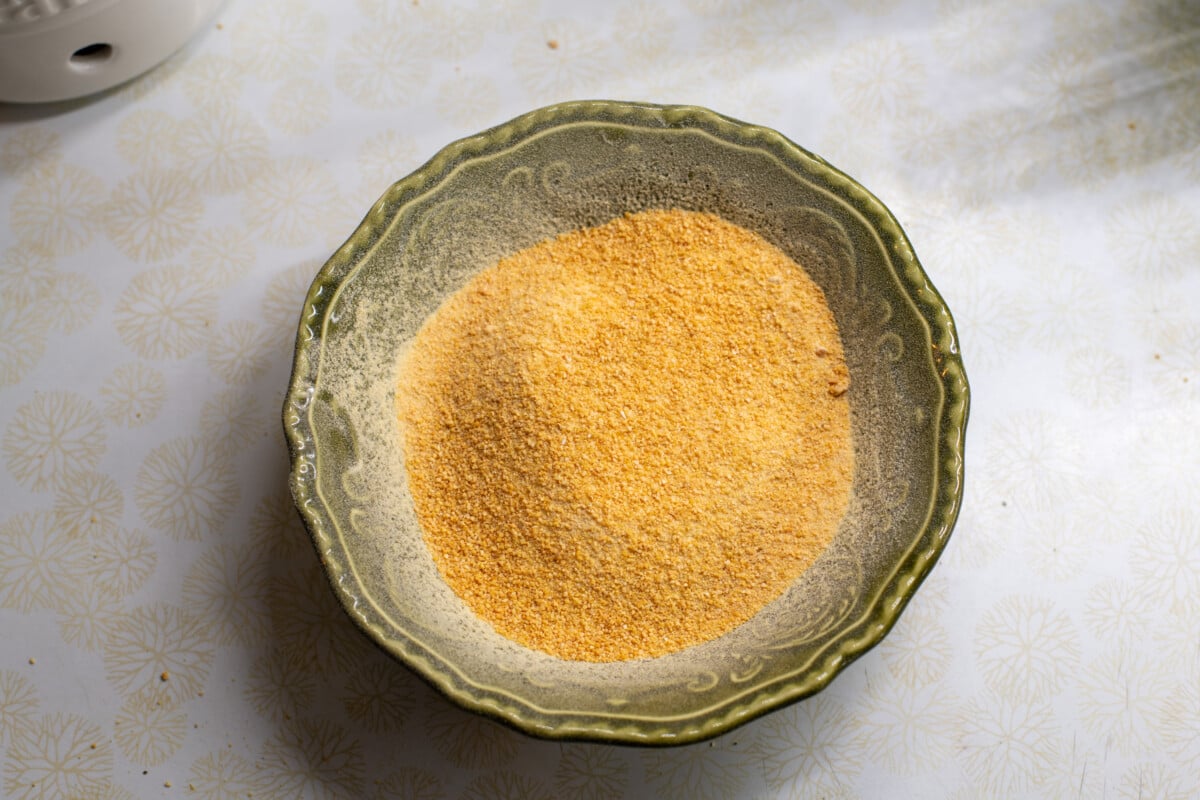
Once your garlic is completely cool, it’s time to grind your crispy little garlic chips into powder. Using your blender or spice grinder, pulse the chips for a few seconds at a time until they’re the desired consistency you want.
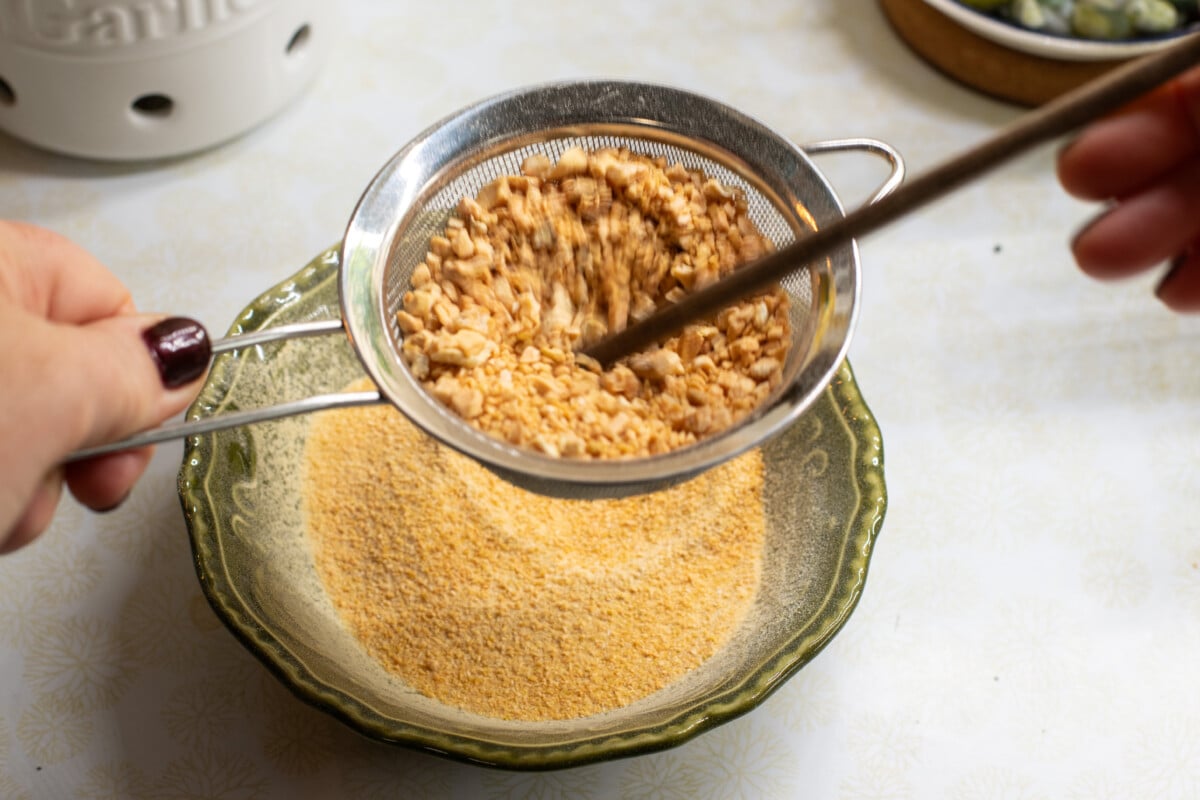
You can sift garlic powder through a mesh sieve over a bowl, and grind again any pieces that are still too large to make it through the mesh.
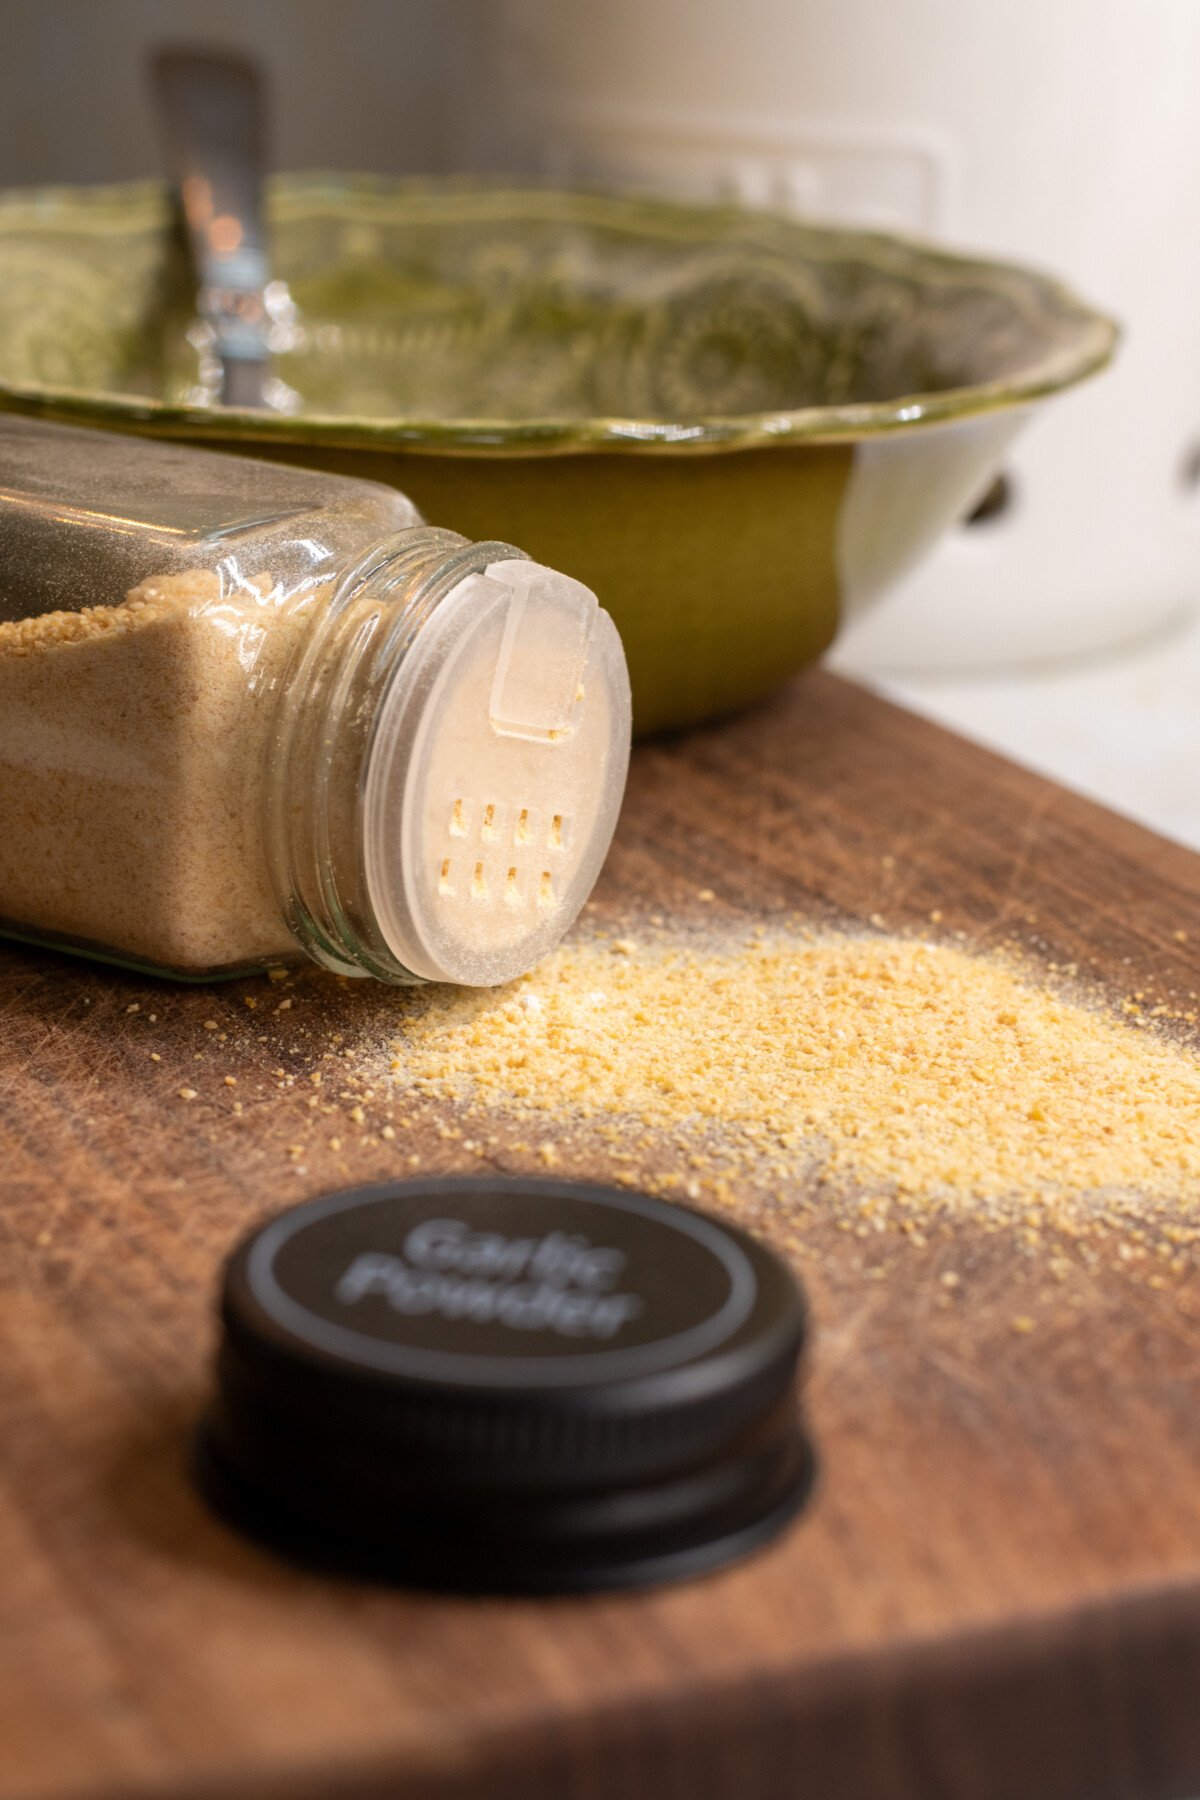
Storing Your Garlic Powder
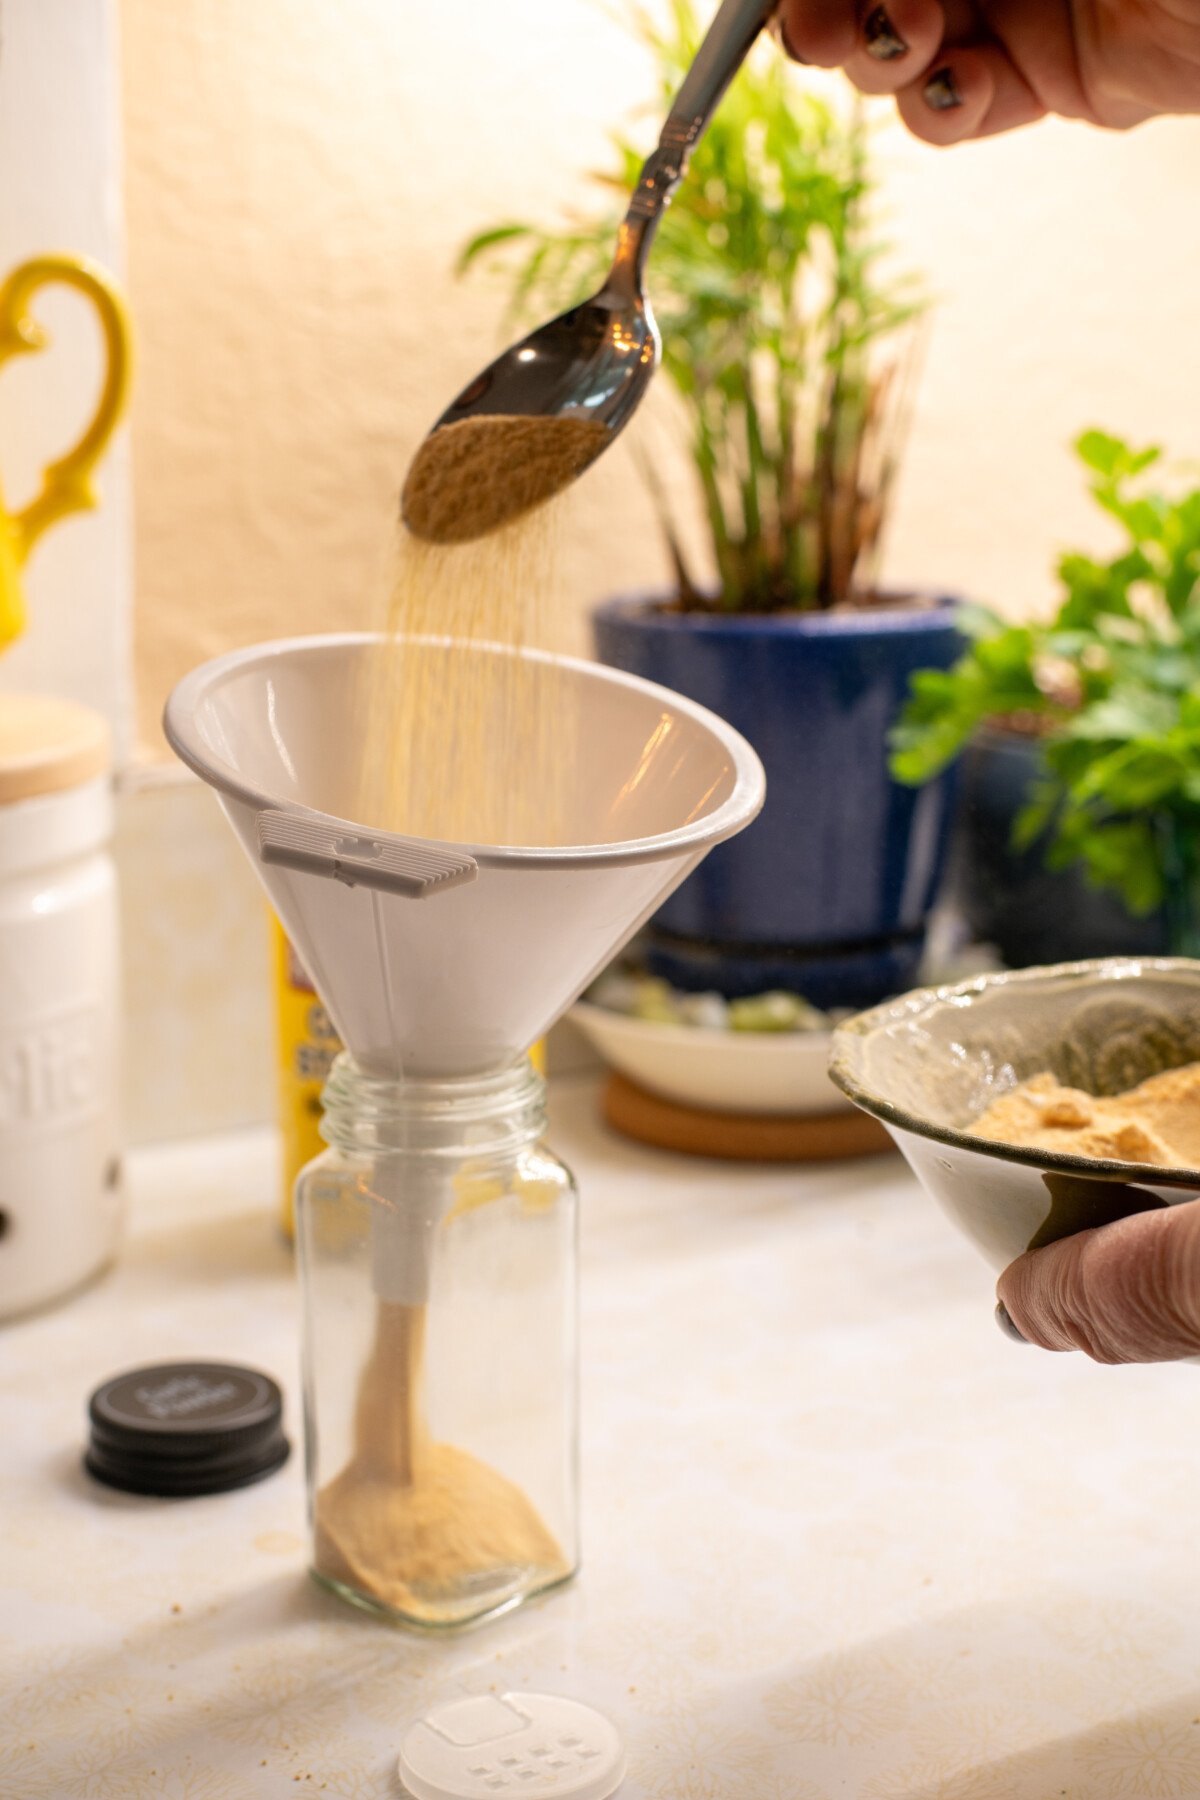
Store your garlic powder in a sealed, airtight container. Most of us have spice jars we use. If you don’t have a dedicated set, use a small mason jar or save an empty spice jar to store your powdered garlic.
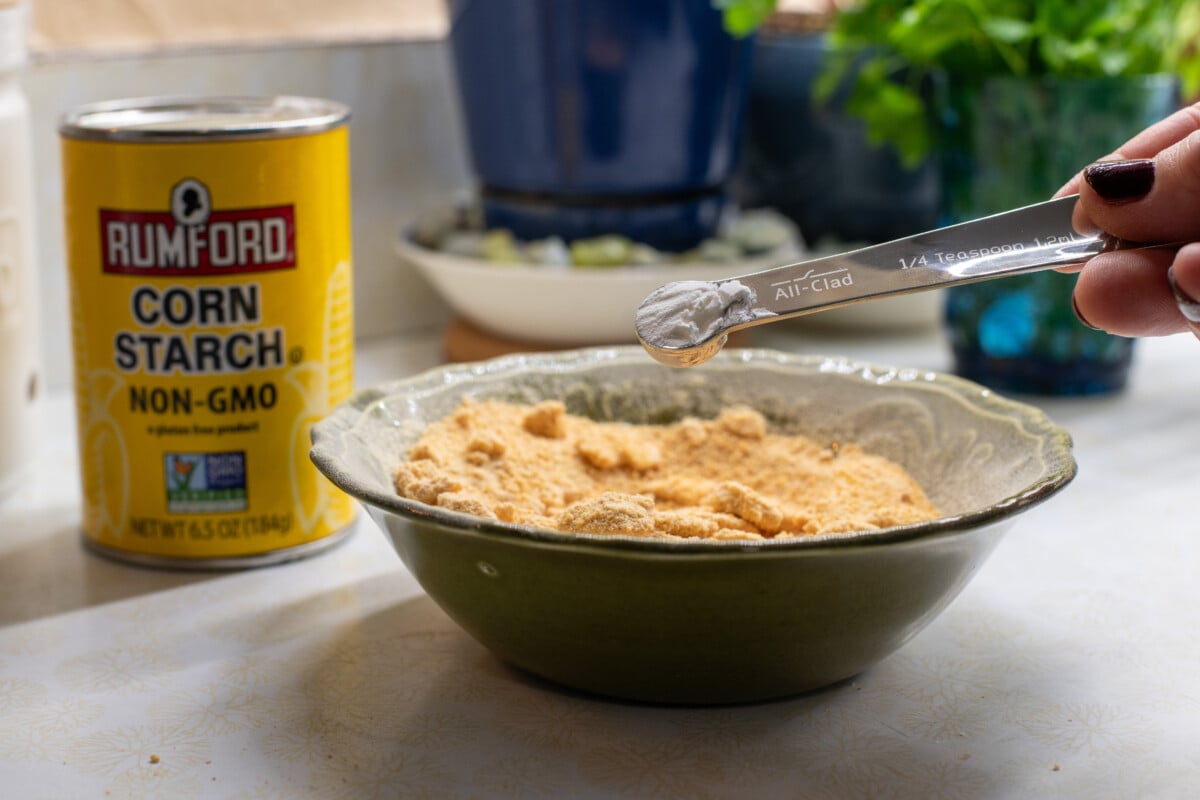
Commercial garlic powder always has an anti-caking agent added to prevent, well, caking. You have the very same anti-caking agent in your pantry – corn starch. Stir in 1/2 a teaspoon of corn starch to your finished garlic powder to prevent it from caking.
Toss a few grains of rice into the bottom of the jar before you add your garlic powder. The rice will absorb any lingering moisture and prevent the garlic powder from sticking together.
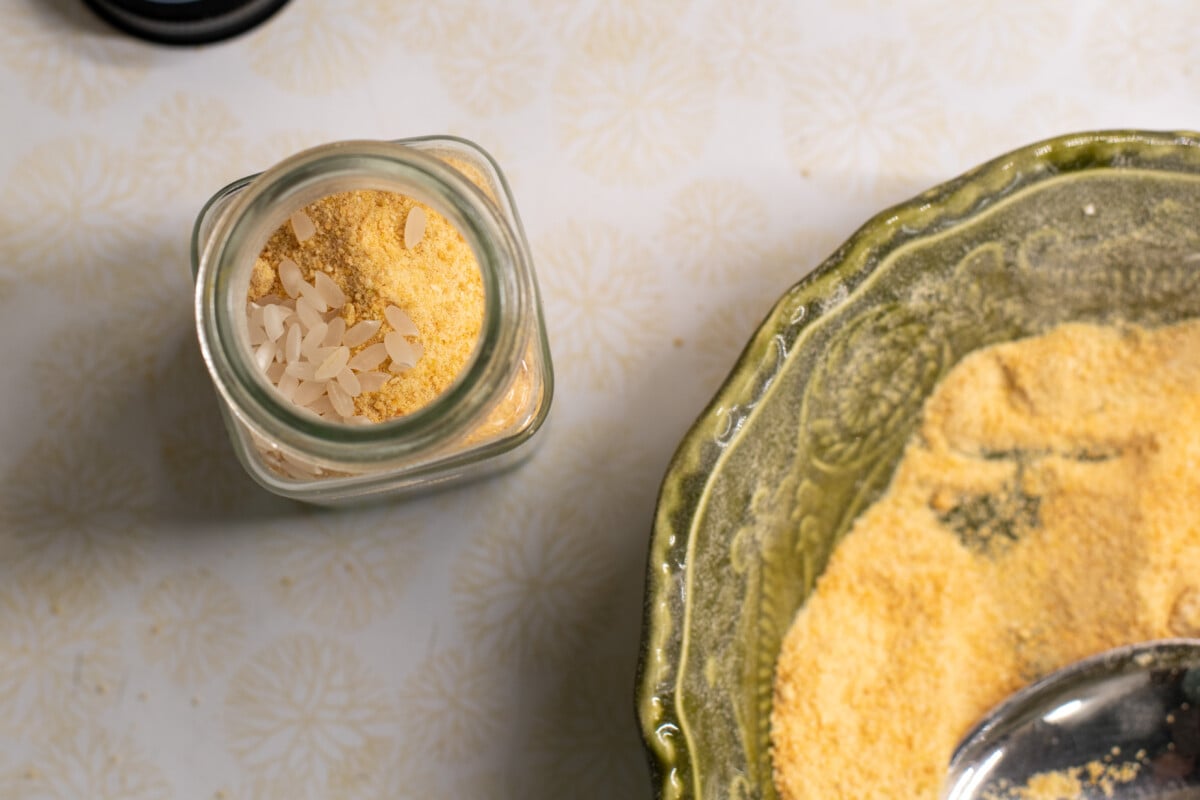
I give my garlic powder a good shake in the jar for the first few days, too, which will help prevent it from sticking together.
Your garlic powder is good for a year. (But you’ll likely use it up even sooner.)
When you use your garlic powder, pour it into your hand or a measuring spoon before adding it to your dish while cooking. Shaking it directly over a hot, steamy pan will introduce moisture, and you’ll end up with a garlic powder rock. This is a good practice to get into for all of your herbs and spices.
Blue Garlic
At some point while your garlic is drying, you may check on it and discover it has turned turquoise-blue! Fear not. This is a natural chemical reaction between the enzymes and sulfur-containing amino acids in garlic. It’s quite common in pickled garlic or when garlic is heated on its own.
Yes, it’s completely safe to eat. Nor does this change affect the flavor of the garlic. It will turn back to its normal color as it continues to bake.
It’s actually a good sign, as it means you have some very fresh garlic on your hands. Garlic has a much higher sulfur content when it’s young. Your finished garlic powder will be extra flavorful.
Making garlic powder is an easy and flavorful way to enhance your cooking and have more control over what you eat, ensuring the freshest ingredients.

Get the famous Rural Sprout newsletter delivered to your inbox.
Join the 50,000+ gardeners who get timely gardening tutorials, tips and tasks delivered direct to their inbox.